Camping in the wild is fun and challenging, but some challenges are ones you really don’t want to have to deal with.
A prime example is using the toilet when there are no bathroom facilities in the primitive campsite where you’re staying. While you can become comfortable with squatting and doing your business, it’s not always comfortable or convenient to do so – and it could also be really toxic to the environment.
What about making use of a portable camping toilet?
There are portable camping toilets that you can purchase, but you can save money and make one yourself with supplies you probably already have at home.
This will ensure that you cut down on your camping expenses while making your camping trips more convenient. Making your own DIY camping toilet that’s kind to the environment is a great solution for short camping trips, but if you’re going on a longer trip you’ll probably want a more permanent one.
Here’s our easy guide to making a DIY portable camping toilet and digging a latrine so that you’ll feel much better when nature calls in the middle of the night.
What You Will Need To Make Your Camping Toilet
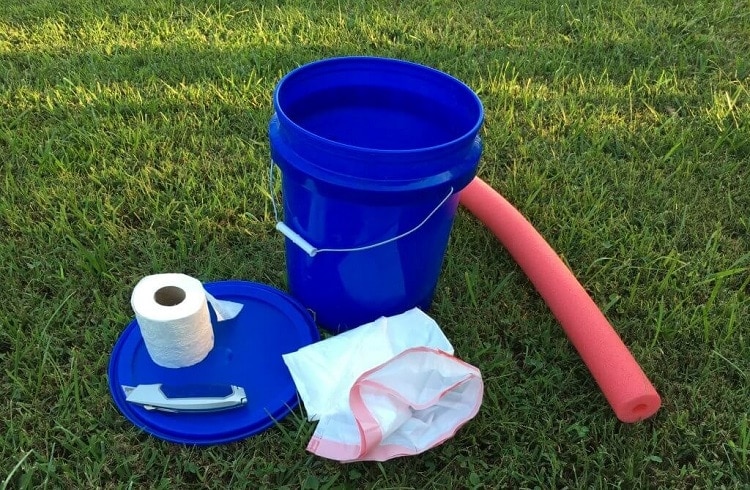
Short-term camping toilet solution: DIY portable toilet
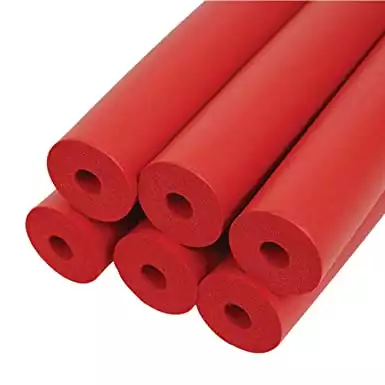
- Pool noodle
- Five-gallon bucket
- Utility knife
- Epoxy adhesive
- Trash bag
- Sawdust (optional)
Long-term camping toilet solution: Digging a latrine
- Small trowel
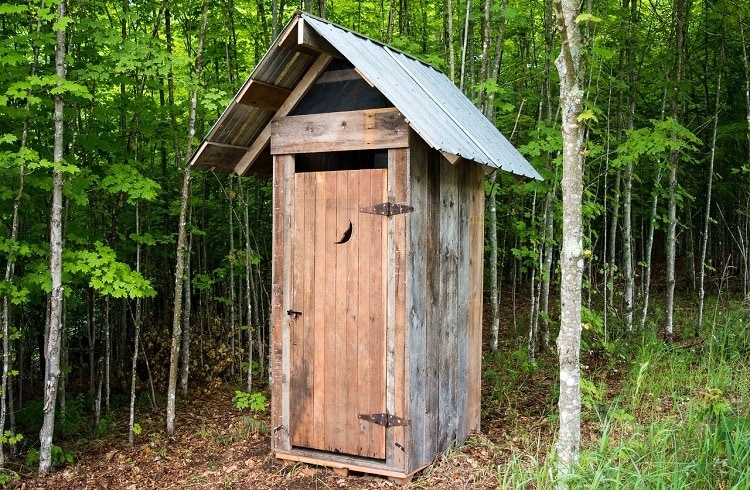
Digging a latrine is a long-term solution for extensive camping trips when you don’t want to have to use the DIY bucket every time. This is also a practical solution if you’re camping with a large group of people because the bucket just won’t cut it.
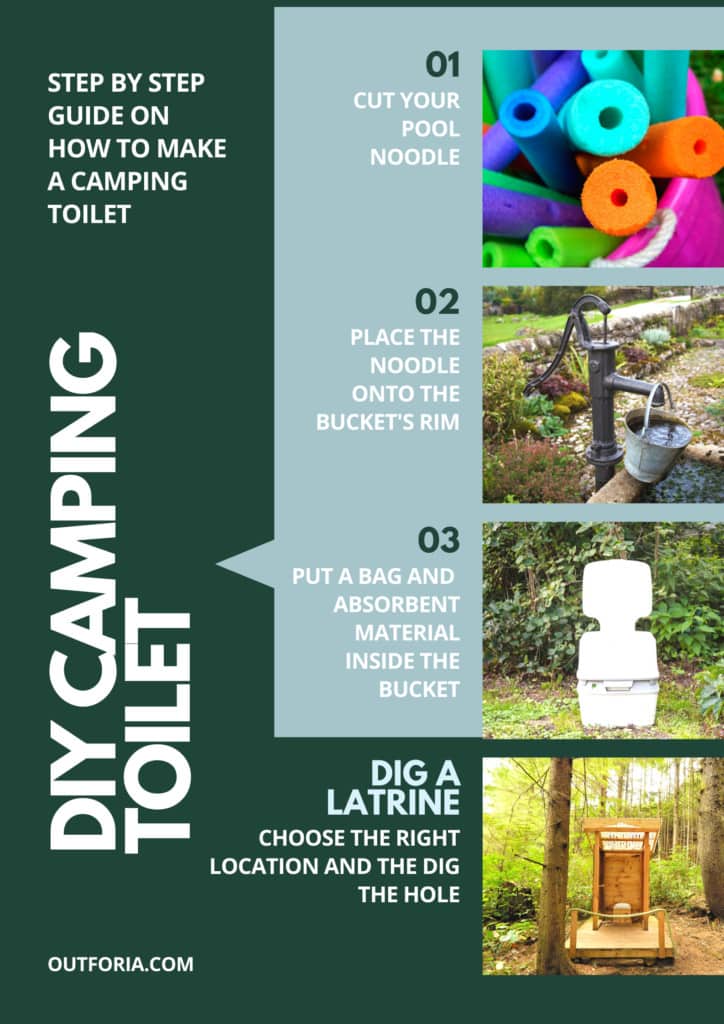
Step-By-Step Guide On How To Make A Camping Toilet
Step One: Cut Your Pool Noodle
- Start by cutting your pool noodle with a utility knife so that it will fit around the rim of your bucket.
- Make sure you measure how large your pool noodle should be so that it fits snugly.
- Then, you want to slice it all the way down the length of the noodle. It might help you to draw a line along the noodle to make cutting it easier.
- Non-water absorbent
- Foam tubing to provide greater control
- Package contains six foam tubes
Step Two: Place The Noodle Onto The Bucket’s Rim
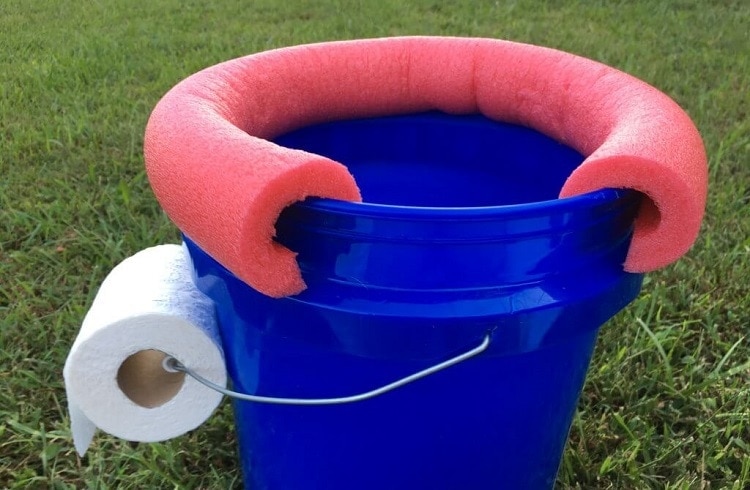
- Hold the noodle open and then place it over the bucket’s rim.
- You can use epoxy adhesive to ensure that it stays in place. This is important because it will ensure that when you sit on the bucket the pool noodle won’t budge.
- Allow the epoxy to dry. It should take around 24 hours to dry properly before you can use the toilet.
Step Three: Put A Bag And Absorbent Material Inside The Bucket
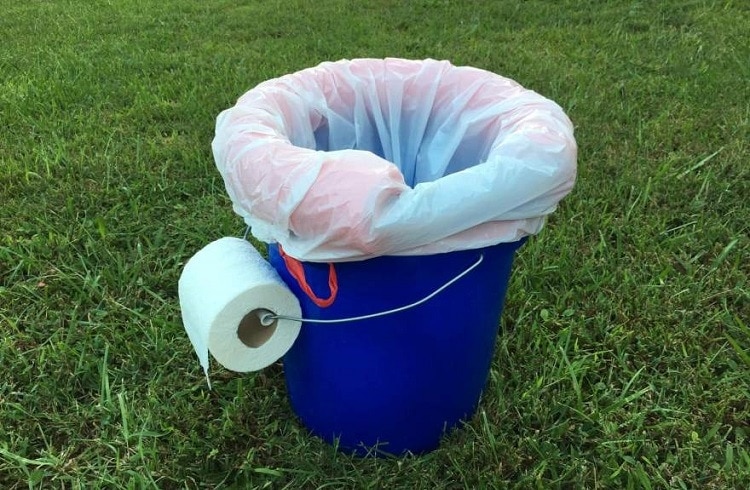
Now that you have your bucket ready, you want to ensure that you put a bag inside it. This will be used to collect your waste. Ensure that the bag goes all the way to the bottom of the bucket and covers the pool noodle seat you’ve made. A strong trash bag can be ideal as it will not easily tear during use.
After inserting the bag, you’ll need to fill it with a material that will absorb liquids and remove unpleasant odors, making your DIY toilet so much nicer to use. This material can take the form of dirt, cat litter, or sawdust.
Bear in mind you’ll need to throw some of this material into the bucket to cover your waste every time you use the camping toilet, so you’ll need to make provisions to have it in storage.
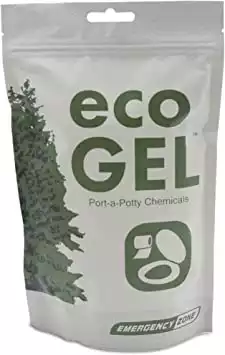
A product that can help you make toilet time in your shelter in the wilderness with your DIY portable toilet much more pleasant is Eco Gel, which works to solidify liquid waste and deodorize your portable toilet with a lemongrass scent. It doesn’t contain chemicals so it’s safe for use and good for the environment. It comes in convenient sticks which can treat half to one gallon of liquid waste.
- Available in various item shape pack
- In lemongrass scent
- One pack includes ten packaged sticks
Share this Image On Your Site
<a href="https://outforia.com/how-to-make-a-camping-toilet/"><img style="width:100%;" src="https://outforia.com/wp-content/uploads/2020/12/DIY-Portable-Camping-Toilet-724x1024.jpg"></a><br> How To Make A Camping Toilet Infographic by <a href="https://outforia.com">Outforia</a>How To Dig A Latrine
Step One: Choose the right location
Before you go ahead and dig a latrine anywhere on the campground, you need to take some important factors into account.
- The site you choose for your latrine needs to be 200 feet (60 m) away from the nearest water source to prevent contamination.
- It should also be a place that’s not frequented by people, such as on hillsides.
- It needs to have deep soil that looks rich in color. The spot should also get a lot of sun as the UV rays will assist in breaking down the human waste.
- An elevated area of land is ideal as this will prevent water from accumulating in the area if there are storms. You don’t want the decomposing waste to find its way into the water sources after you’ve done your business.
Step Two: Dig The Hole
The latrine hole can be dug with a garden trowel. It should be 8 inches (20 cm) deep and about 6 inches (15 cm) wide. It should also be 12 or more inches (30 cm) in length, but that depends on how many people are going to be using it. The more people that you’re camping with who will need to use the latrine, the longer the latrine should be.
How the latrine works is that every person will use the latrine whenever they need to, after which they will cover that part of the latrine with dirt to completely hide the waste and allow it to start decomposing.
The toilet paper that’s used should be stored in an airtight bag, such as a Ziploc bag, and properly disposed of when you get home. It should never be thrown into the latrine as it could be dug up by animals. In addition, it has a slow decomposition rate that’s bad for the environment.
Another thing you should avoid is burning the toilet paper as it will cause unnecessary smoke while also posing a wildfire risk.
What About Other Methods For Disposing Of Your Waste?
If you’re not keen on the idea of putting your toilet in a sealable bag and taking it home, you could make use of what’s known as wag bags instead.
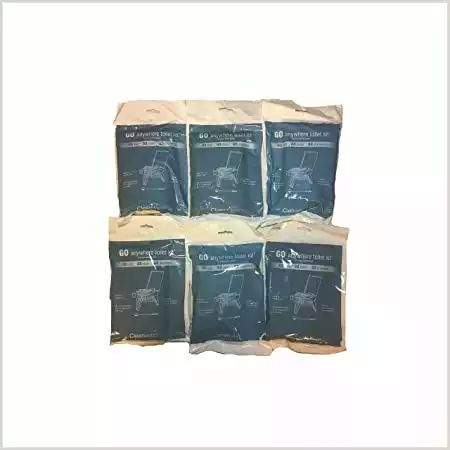
These are double-layered bags that allow you to do your business straight into them before sealing them up and putting them in your camping or hiking backpack so that you don’t have to impact the environment in any way.
With a wag bag, you don’t have to worry about digging a latrine or using a portable toilet. Every wag bag contains a hand sanitizer packet, a NASA-developed solidifying agent, powder to conceal any bad odors in the bag, and a bit of toilet paper so you’ll have everything you need right in the bag.
After using a wag bag, you can safely dispose of it in the trash when you get home, never leave your trash with respect to the rules the campsite has. You can learn more about wag bags by checking out this YouTube video.
While wag bags are a fantastic idea because they ensure you leave no trace in the environment and they’re portable so that you can use them anywhere, they’re probably not the best idea if you’re camping for an extensive period of time.
You’d need a lot of wag bags, and storing them in your backpack would quickly become difficult if you’re on a camping trip that’s longer than a few days. You should therefore carry them for emergency situations when you don’t have any other option available to you, such as when nature calls during a hike in the middle of nowhere and you’re far away from your campsite.
- Includes a resistant zip-close disposal bag and poo powder gelling agent
- Multi-pack options
Related Questions
How can you prevent people seeing you when you use the latrine?
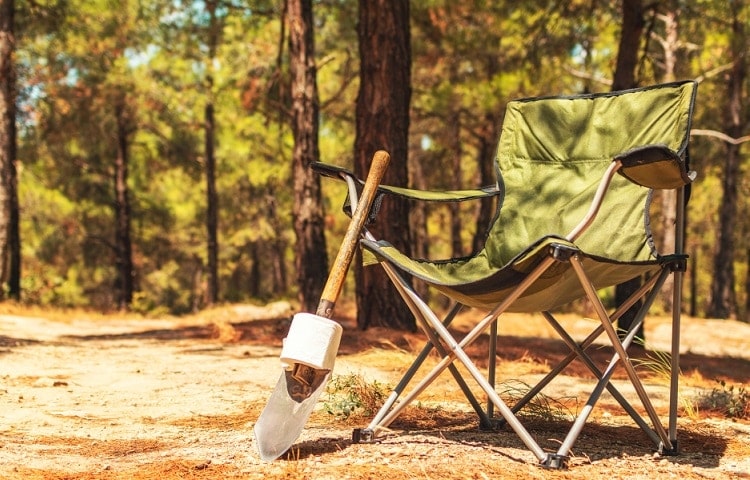
Consider putting a stick or trekking pole in the ground close to the latrine so people can see if someone’s using the bathroom and they won’t accidentally walk in on you.
Just make sure everyone in the group knows about the stick!
Can you use leaves to wipe instead of toilet paper?
While you might think leaves can work well after you’ve gone to the bathroom, they’re not ideal.
Most leaves crumble when pressure is applied to them or they’re just too smooth to clean you properly.
Conclusion
There’s no doubt about it: doing your business in the woods is sometimes embarrassing and awkward.
But it really doesn’t have to be if you’ve got a DIY toilet or a latrine. As we’ve seen in this guide, both are really easy solutions to make doing your business a much less stressful event while being mindful of the environment so you can leave no trace.


