Outforia Quicktake: Key Takeaways
- A fire needs oxygen, fuel, and heat to keep burning; ensure proper airflow and use dry, good-quality fuel.
- To keep a fire going in a stove, keep the chimney clear, adjust the damper vent, and regularly remove ash.
- For outdoor fire pits, use hardwood logs and seasoned wood, and try fire-building techniques such as the self-feeding fire, upside-down fire, and Swedish torch fire.
- Avoid burning poisonous plants, treated wood, or imported wood as they may release toxins or harm the environment.
- Useful fire tools include blow tubes or bellows, fire extinguishers, fire steel or strike flints, tripods, and Dutch ovens.
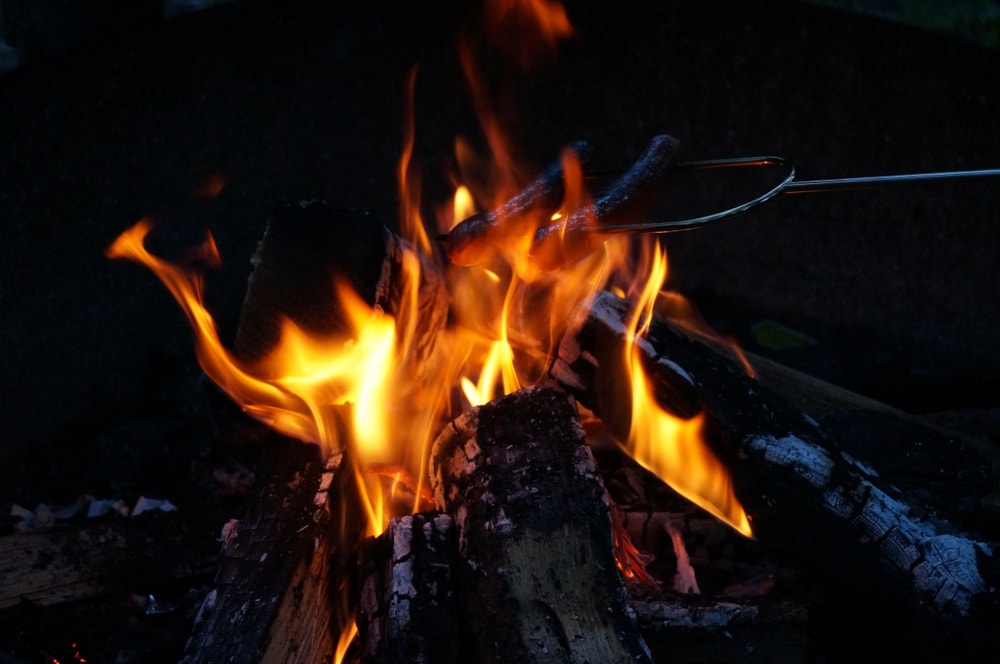
When the temperature drops and things get a little too frosty for comfort, how do you keep a fire going to stay warm, especially during cold camping trips?
All you need to do is feeding it oxygen and the right types of fuel slowly, and in a controlled way. There are many ways of doing this, depending if you are using an indoor stove or an outdoor fire pit.
I am writing this in my narrowboat with ice outside. It is -9C, which is impressively cold for England. I have survived at least 15 winters (and counting) off grid, with only a stove or fire for heating. But it’s not as hard as you might think!
The trick is never to let your stove (or fire) go out! Plus, it’s a lot more effort to relight a fire from scratch. Temperatures can drop very quickly.
You May Also Like: How Hot Is A Campfire? Wood Tips, Temperature, Color Facts
How To Start Your Fire
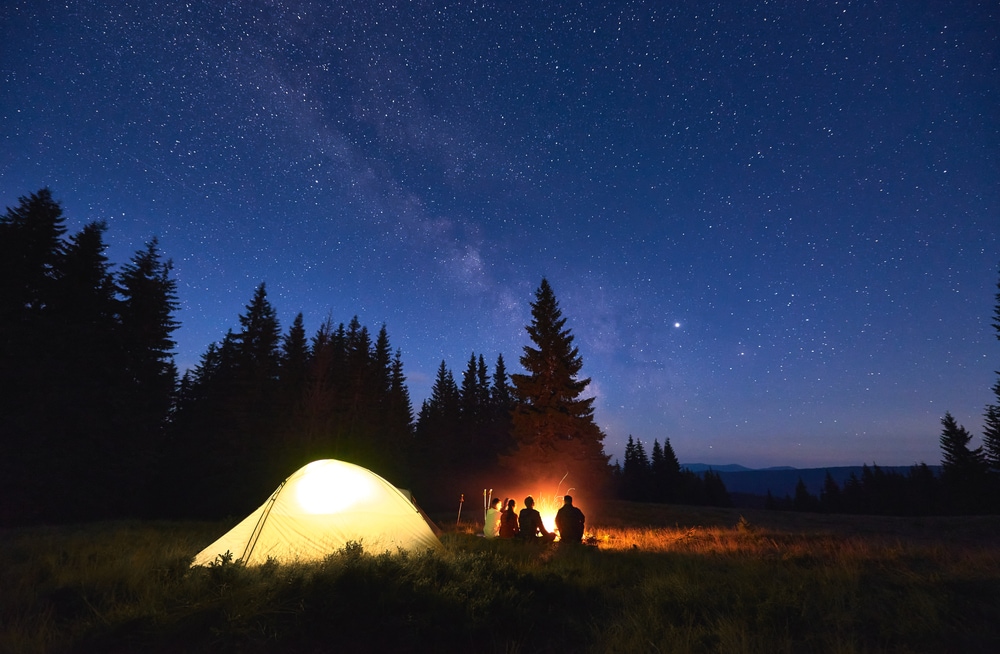
You will need:
- Firelighters/tinder
- Strike flint/matches/lighter
- Kindling
- Larger pieces of wood
Whether you have an inside stove or an outside fire pit, you still need the same things to start the fire.
The Fire Triangle
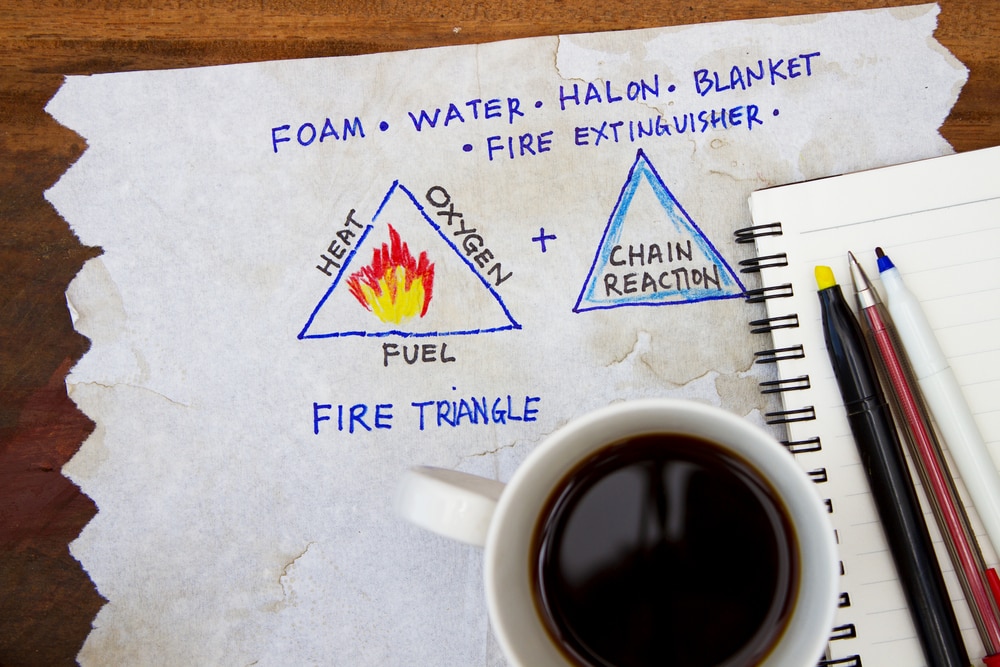
All good firefighters learn the fire triangle before anything else.For any fire to burn for any length of time, it needs these three things:
- Oxygen
- Fuel
- Heat
Take away any of these, and your fire will go out. So make sure to leave gaps between coals and logs for air to get in. Unless you want to be a firefighter!
You also need time and patience!
The easy way!
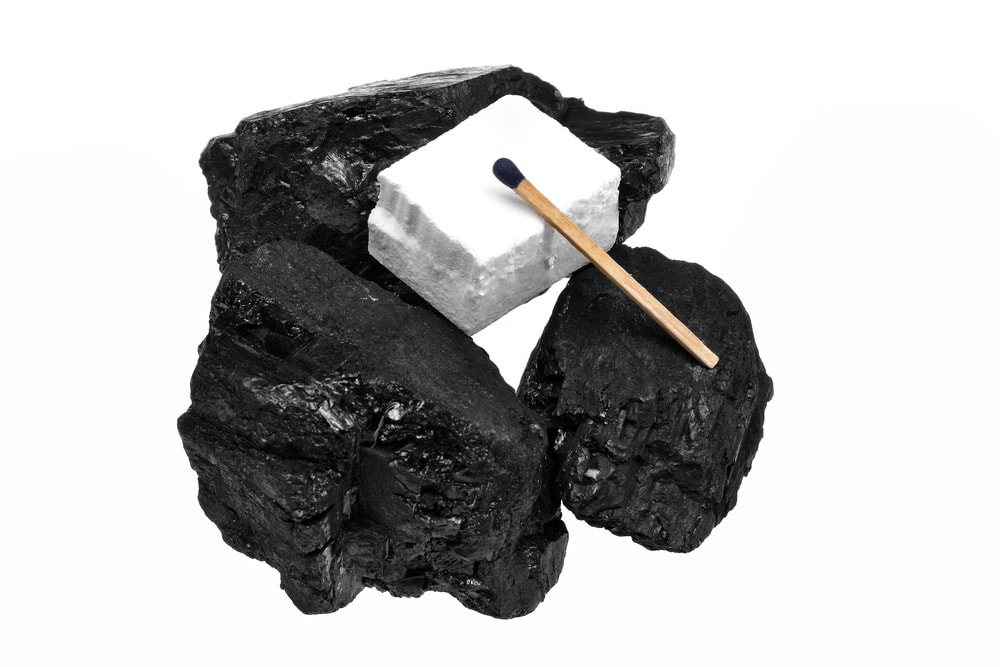
The easiest way is with firelighters and a lighter! You can get chemical firelighters, or natural firelighters that work using surface area. These are better for the environment.
- Place a few fire lighter blocks in your stove/fire pit.
- Light the corner of one.
- Add kindling. Make a kindling tipi – arrange the kindling in a wigwam shape across the firelighters.
- Add bigger pieces of wood. (Ax thicker logs in half to expose the inner wood. This helps the fire catch.) To see how to use an ax for this, check out the video below.
- Voila! You have fire.
What’s a strike flint, and how do I use one?
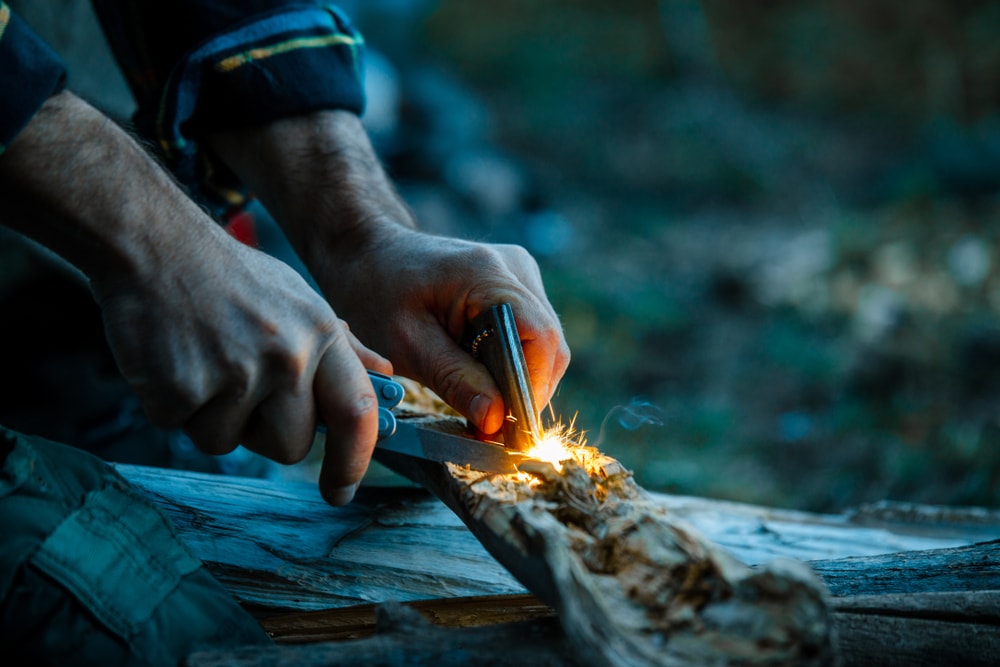
This is a fire starting tool. It looks like a stick of metal with a handle. Mine has two different metal rods. One being magnesium. This burns rapidly when scraped off and exposed to heat and oxygen. The other is a steel which makes the sparks.
To use it, I slide out the inbuilt scraping blade. I shave off a small pile of magnesium from the rod onto some dry kindling. I use the same scraping blade to scrape downwards on the other (black) rod.
Sparks rain down on the kindling and the magnesium bits. They should light.
With practice, you too can start a fire this way!
Tinder
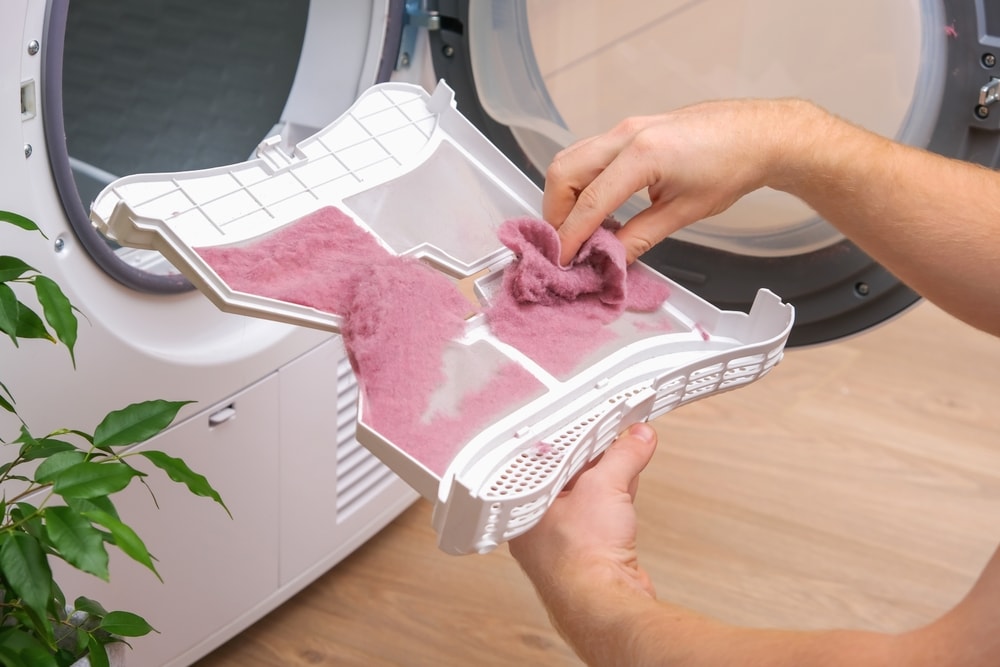
Tinder is any fine dry material that you can use to start a fire. Some you can bring with you, such as wood shavings, straw, or washing machine lint!
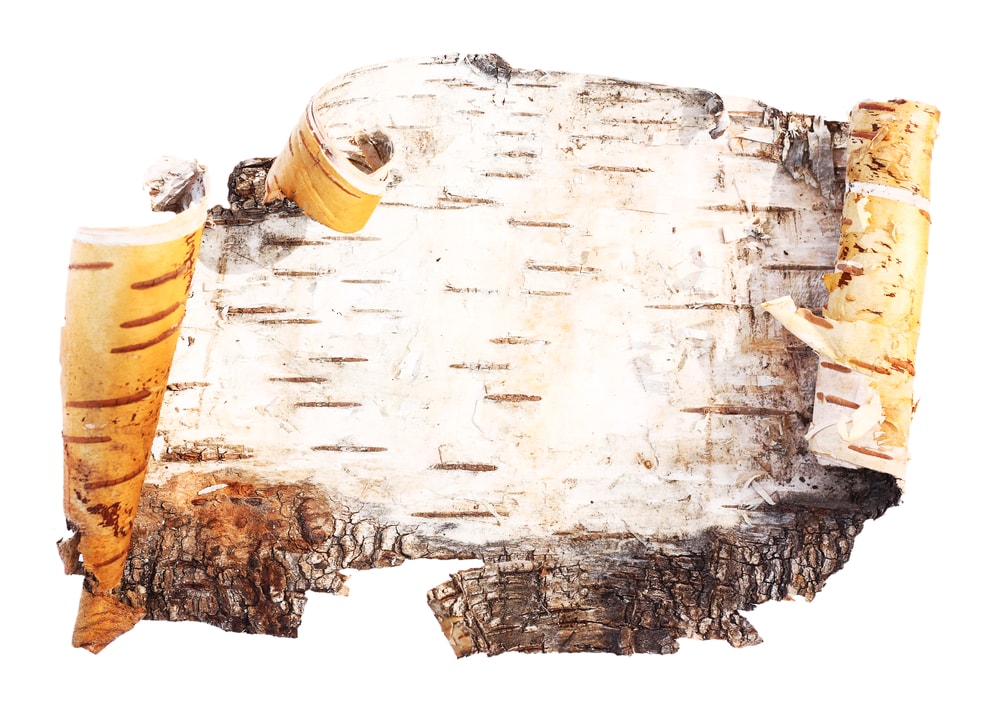
Out in the wilderness, look for birch bark. This has flammable oils in it which makes it a great tinder. Just rip it into small pieces.
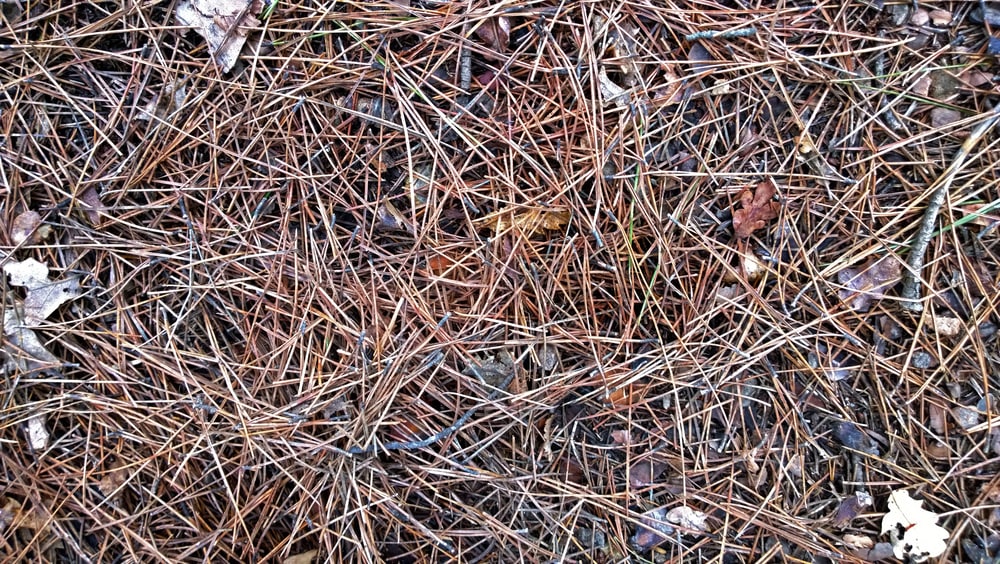
Pine needles are another good tinder. Their small size and resin content make them good food for your hungry sparks! Choose those that are dry and brown. Dried, open pine cones also burn really well.
Otherwise, get creative and look around!
Some plants, like Reedmace (Typha latifolia/augusta) or Old Man’s Beard (Clematis vitalba) have fluffy seeds that can be used as tinder.
My son and I have had great fun experimenting with these tinders. Some, like Reedmace, really do burn in a spectacular way!
Here is a great video showing how to find other natural tinders such as dry lichen, fungus and pine resin.
Kindling
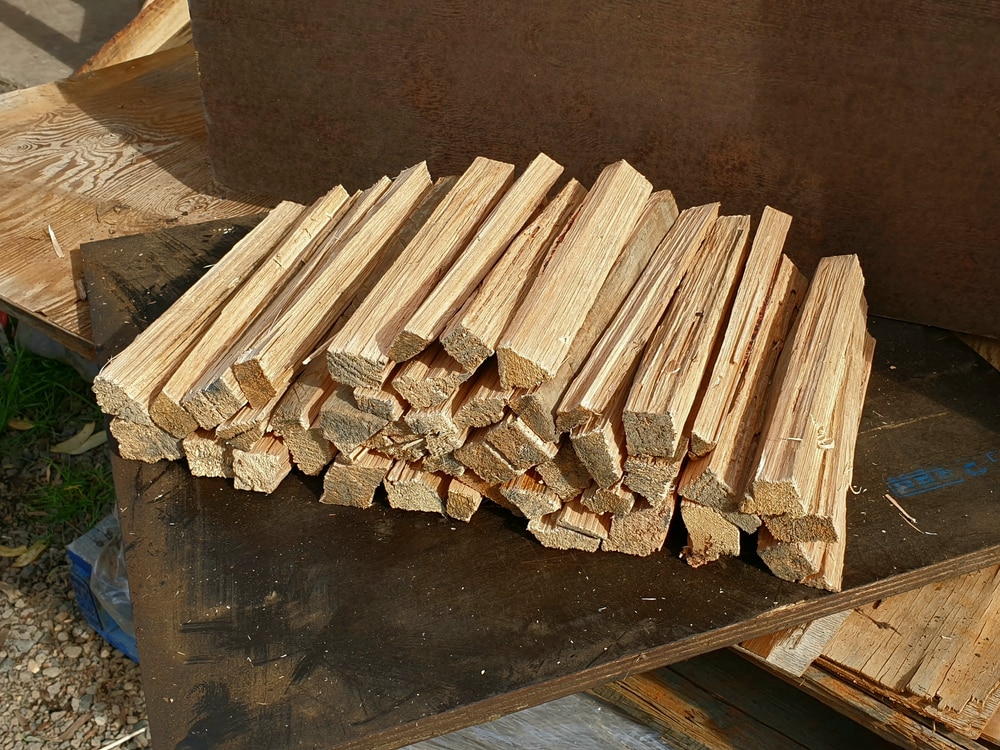
Kindling is small pieces of fuel that we put on after the tinder is lit. They are not as fine as the tinder material, but not big either. The kindling I use for the stove at home is the length of a pencil and the thickness of a sausage!
Any dry wood will do. Softwoods burn faster, but this doesn’t matter at this stage. You are going to put longer lasting wood on later!
You can make your own recycled paper briquettes for kindling – a great money saver.
Personally, I find the bother of making paper mache and drying it out for several weeks is too much hassle. It depends how much space you have to store things and how patient (or cold) you are!
There’s another way you can make kindling by simply rolling up newspaper and stuffing it into toilet roll tubes. The idea is to compress the paper as much as possible.
This is good for starting a fire, but then you will need some wood or coall!
Check it out here.
Firewood
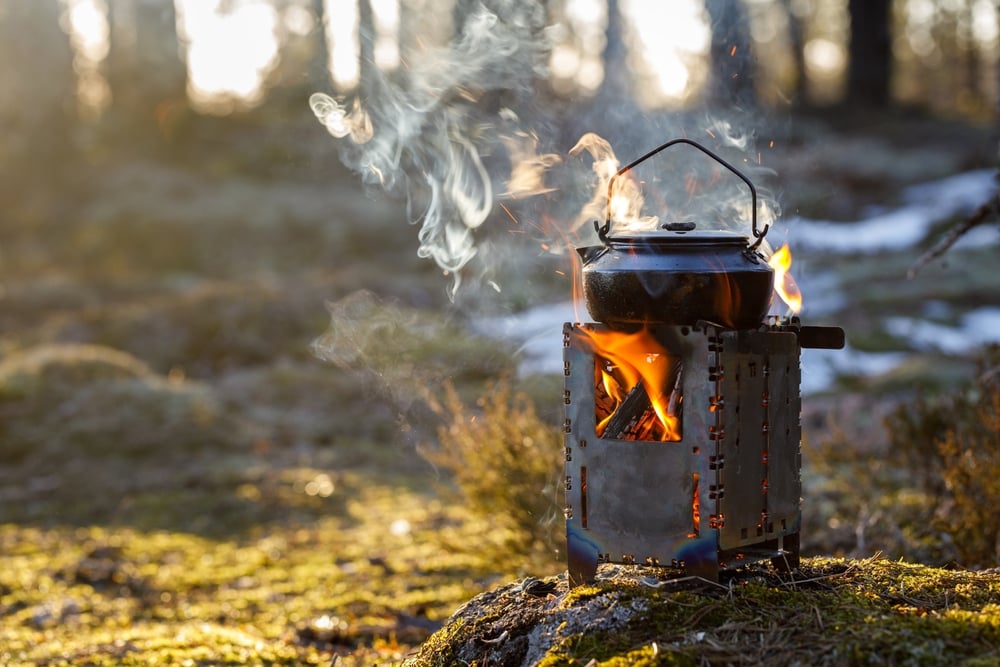
Now you need larger pieces of seasoned cut wood. Preferably hardwood, but in a stove you can also use compressed fuel blocks made of coffee grounds or sawdust. You can use softwood like pine, but be aware that it will burn faster and will need replacing more often.
Hardwoods create more heat, are more expensive, and take longer to grow.
To tell if wood is hardwood or softwood (as sellers aren’t always honest!), do the fingernail test. Press your nail into the cut surface of the wood. If it sinks in, you are likely to have softwood. If it doesn’t, you have hardwood.
Check the grain of the wood, too. Hardwoods have a more obvious grain (the pattern in the cut wood, usually circular rings). In softwoods such as pines this is more subtle.
Keeping a Fire Going in a Stove
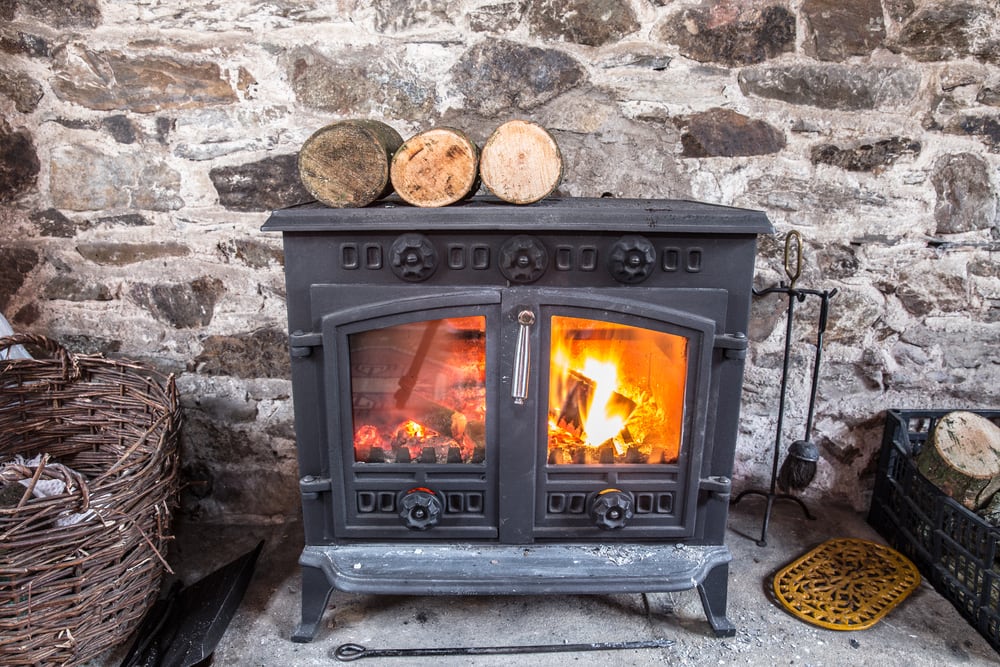
If you are using an internal stove, here’s some tips on how to make that fire last.
Have fun in front of your nice warm stove!
Keeping a Fire Going in a Outdoor Fire Pit
There’a bit more to keeping an outdoor fire pit going than is generally realized!
Use hardwood logs
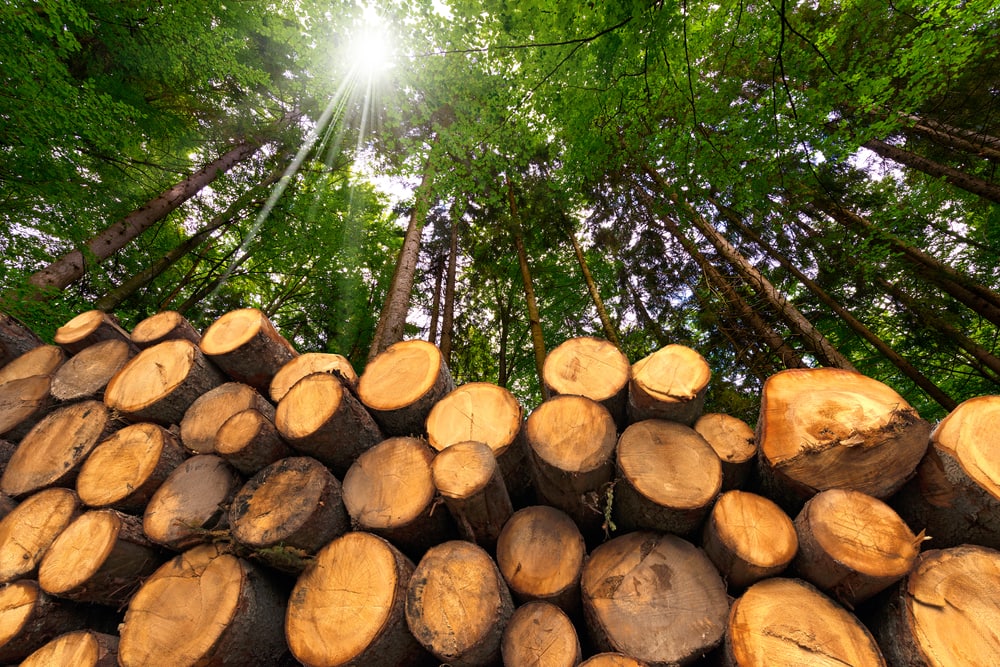
Hardwood trees burn for much longer as their wood is denser. Softwood trees such as conifers are good for starting a fire due to their resin content, but after that you want to be using hardwood logs.
Good hardwoods to look out for are: oak, ash, beech, fruit trees, maple. (This will depend on where you are in the world. If you are in tropical rainforest, mahogany would be a good idea!)
Use seasoned wood
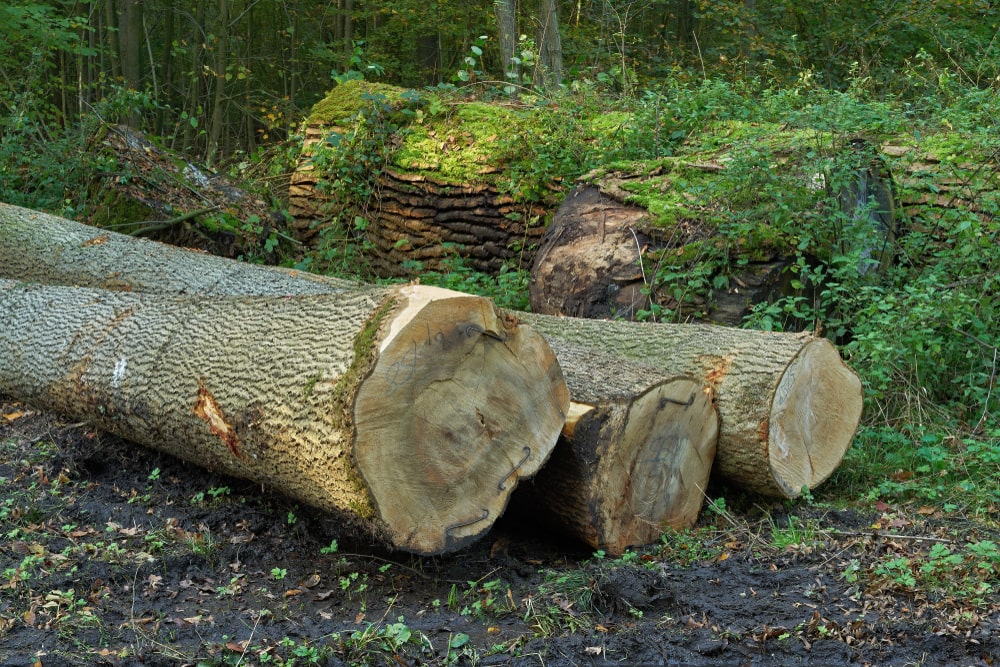
Seasoned wood is wood that has been left after cutting to dry out properly. Most woods will need seasoning for at least a few months.
Ash is an exception. That’s why ash wood is so prized! Ash is so dry inside, it can be burned straight after cutting.
Season wood by leaving it in a well-ventilated place with a roof on it. A wood shed is ideal, but wood on a pallet with a tarp over it also works well for me! You will know it is seasoned because it will get much lighter in weight, lighter in color, and begin to crack at the ends.
Fire Building Techniques
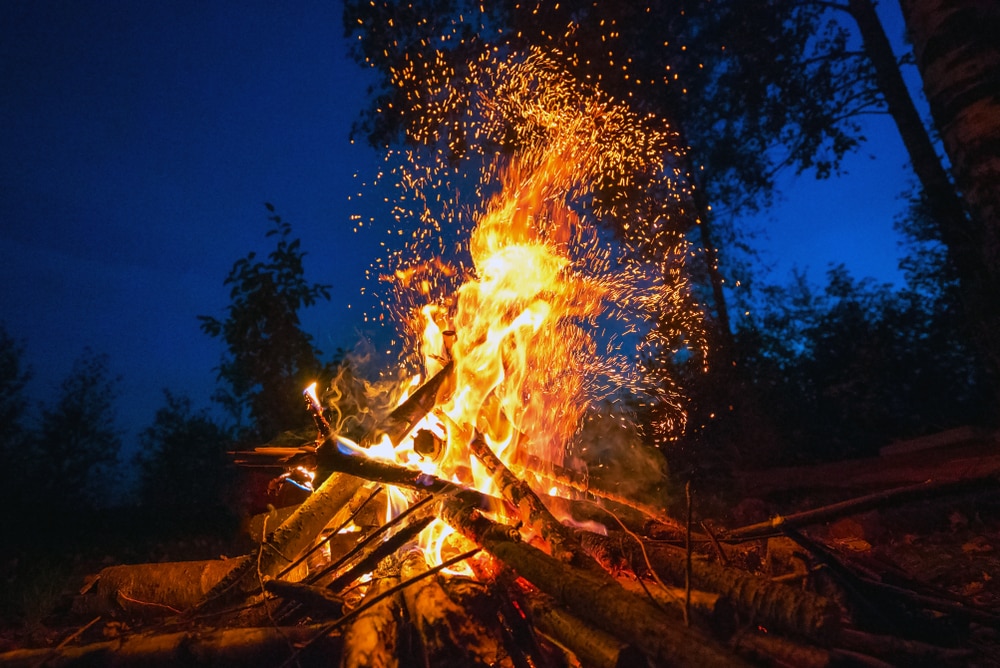
These bushcraft techniques are useful when you are sleeping or too busy to constantly tend the fire.
But! And this is a big BUT! NEVER leave an open fire unattended. In a survival or camp situation, yes, you will need to keep a fire in while you sleep. That’s not the same as lighting one then going off for an excursion for several hours.
Self feeding fire
This is a clever way of building a fire so the logs fall in towards the center as it burns, meaning it’s doing the work for you!
- Gather your firewood.
- Cut your logs to the same length. This will make it easier when you put them on the ramp.
- Hammer in straight greenwood branches strong enough to hold the weight of your logs. You will need two on each side of the fire pit. Space them so they fit the length of your logs.
- They should make a ’V’ shape. The angle should be roughly 45 degrees from the ground. If it is too steep, the fire will start burning the top logs. Or worse, the green wood sticks! If this happens you could wake up to a collapsed fire…
- Pack some earth or clay around the base of the green wood sticks. This will stop your ramp catching fire.
- Put your tinder and kindling pile on top of the bottom logs (which should be in the fire pit).
- Light the fire.
- If it is working properly, as each log burns through it will allow the one on top to fall in and feed the fire all night long.
Survival instructor Dan Wowak shows us how to build a self feeding fire in the video above.
Upside down fire
This method involves putting the heaviest logs on the bottom of the pile and scaling up to the lightest tinder on top. Exactly the opposite to the traditional way most of us would know!
This means there’s no danger of the heavy logs collapsing inward as the smaller starter wood burns. (This is what happens with a normal fire.)
- Cut your timber. Make sure you have several large logs, medium size pieces of wood and small kindling. Plus tinder.
- Place the biggest logs on the bottom. Make this layer the widest.
- Layer medium size logs on top of these. Make sure there are air gaps, but that the pile is stable.
- Place the smaller kindling on top.
- Your finished upside down fire should look like a square based pyramid.
- Place a square of other large logs around the bottom of the pile if needed to reinforce it. You don’t want the burning fuel to fall outwards and start a forest fire!
- LIght the tinder on top of the kindling.
- Voila! Upside down fire!
Crazy Russian All-Night Fire!
So named from the video by bushcrafter Crazy Russian!
This fire needs only three large logs. It relies on a simple but clever design that controls the flow of oxygen.
- Cut three large logs. Though not so heavy you can’t lift them easily!
- With a chainsaw or saw, make cuts in the surface of one side of each log. These should be in a criss cross pattern Why? “This gets the bark out of the way, so the fire can get in the wood.” explains Crazy Russian himself.
- Place two of these logs together on the ground, cut sides facing each other.
- Put kindling and tinder on top of them and light the fire.
- Once it’s burning, place the third large log on top of the first two. You now have a Toblerone shaped fire!
- Enjoy the heat. The log on top stops too much oxygen from burning the fuel too fast, and the shape stops the fire spreading.
Swedish Torch Fire
This classic fire is inspired by how the 17th century Swedish military did their cooking. It also looks great at outdoor gatherings, gives a lot of light and is very controllable. It lasts for 2 to 4 hours without any maintenance.
- Cut a large diameter log that is short enough to stand up without falling over.
- Using a chainsaw or hand saw,, cut a star shape from the top surface of the log to three quarters of the way down its length.
- Tie wire or non flammable rope around the outside of the log.
- Place tinder and some slightly bigger pieces of kindling on top to stop the tinder blowing away.
- Light the tinder. As it burns, it will drop into the star shape you have made and set the log alight from the inside.
- You can easily fry or boil food on your Swedish torch. The pan balances perfectly on top!
- Be sure to extinguish any left over coals if you are leaving.
What Not to Burn on a Camp Fire/Stove
There are some things it just isn’t a good idea to burn!
Poisonous plants
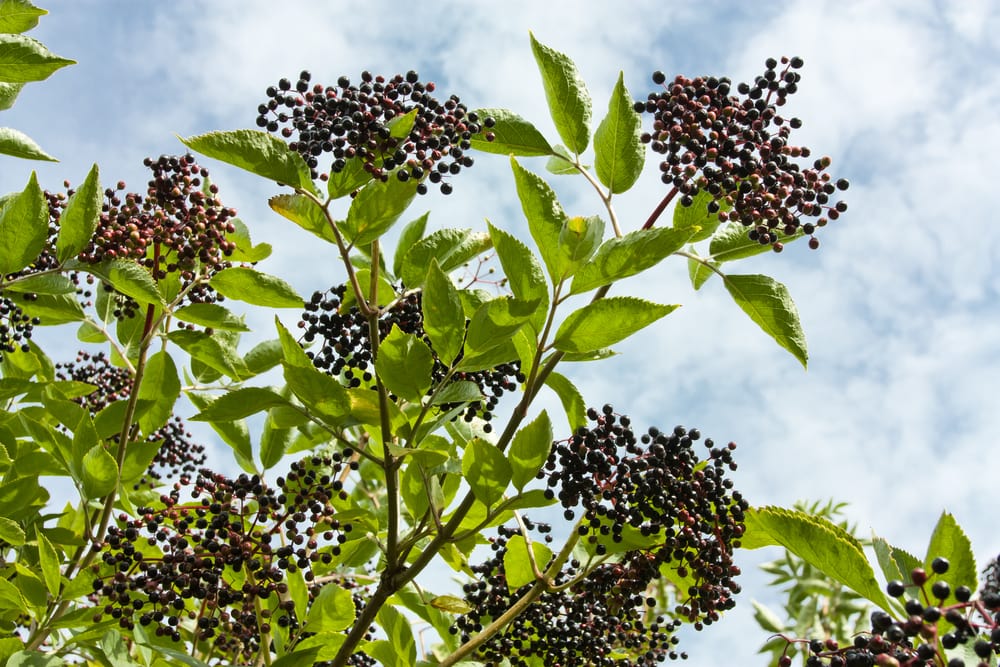
When out in the wilderness, watch out for woods such as Elder (Sambucus sps). This tree contains chemicals that are poisonous when burned. It has bark that peels off easily, leaving smooth bare branches with a pithy core.
Other poisonous species to avoid include Oleander and Poison Sumac.
Basically, if something has ‘poison’ in its name, it’s a good idea not to burn it!
Treated or processed wood
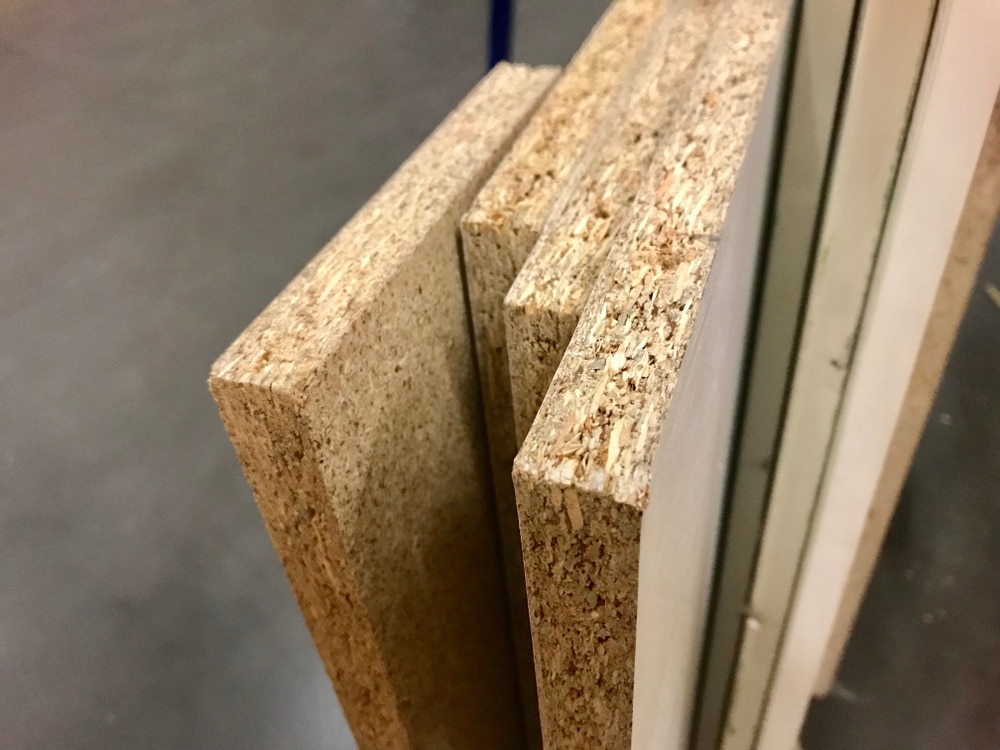
Materials like MDF (medium density fibreboard) or wood with stains or paint will release toxins when burned. This is bad for your lungs and not that great for local air quality either. MDF has layers of glue in it, which as you may guess is not that good for you either when burnt!
Don’t burn this stuff! If nothing else, your neighbors will thank you for not doing this as the smell goes into their drying clothes…
Actually, ANY type of fire will make airing clothes smell of smoke. But it’s a lovely smell, right?
Imported wood
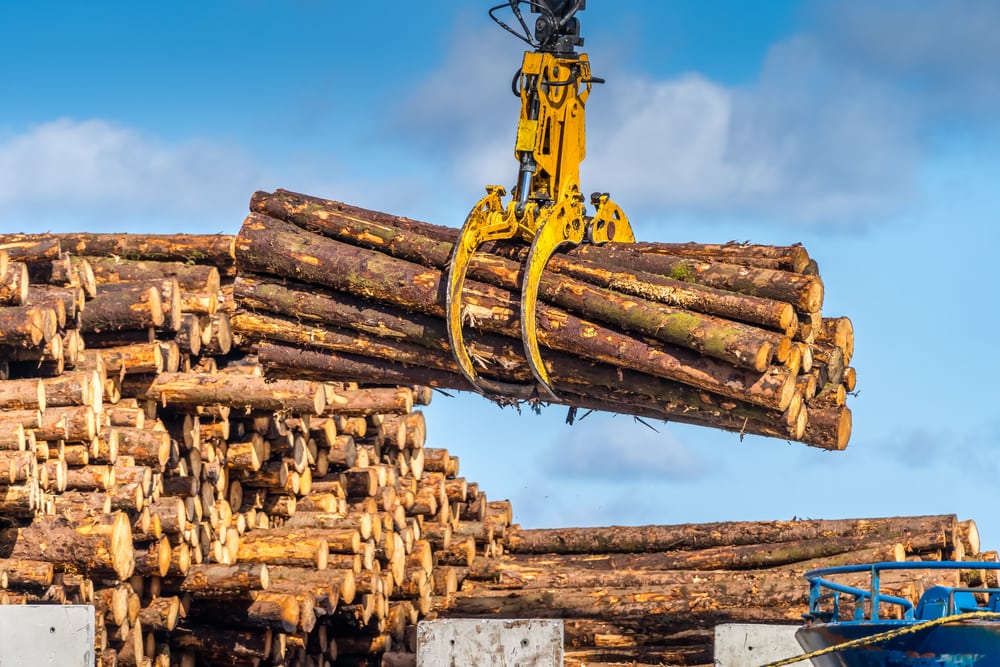
Wood from far away may harbor pests and tree diseases, such as Ash Dieback Beetle. You don’t want to be responsible for the newest tree plague in your local area.
You will want to avoid endangered species of tree, too. Check this list of endangered species. Especially if you are cutting your own wood.
You May Also Like: How To Stay Warm In A Tent: 20 Actionable Tips
Charcoal: What’s It All About?
What is charcoal?
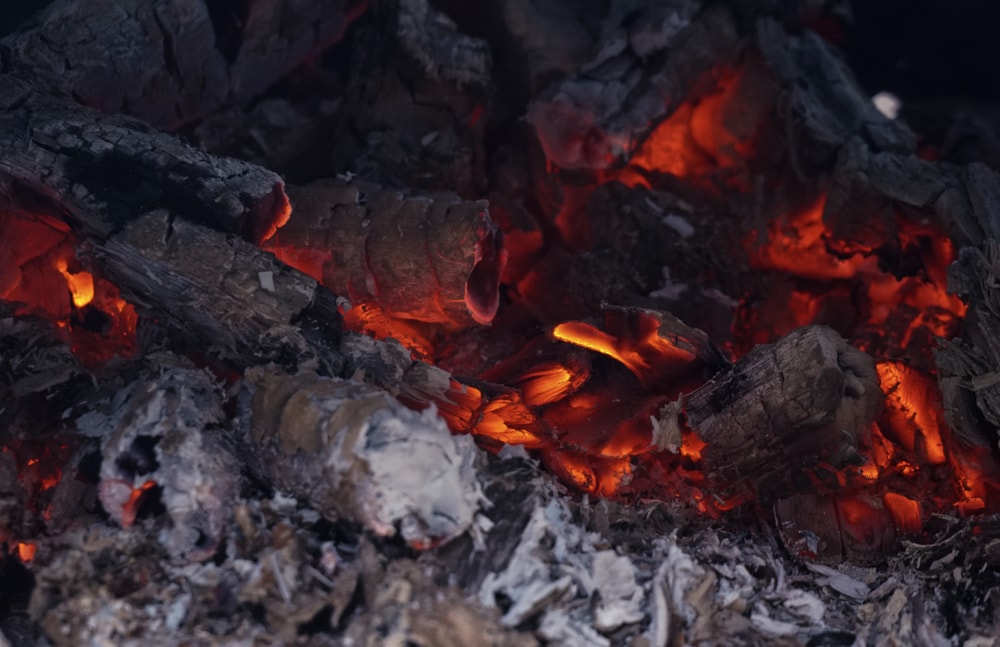
Charcoal is partially burned wood. It is formed when wood is burned and at the same time kept away from oxygen.
You can have a go at making your own charcoal using just a few metal cans and some paint stirring sticks. Or use an oil drum to make a more useful amount.
Why do we need charcoal?
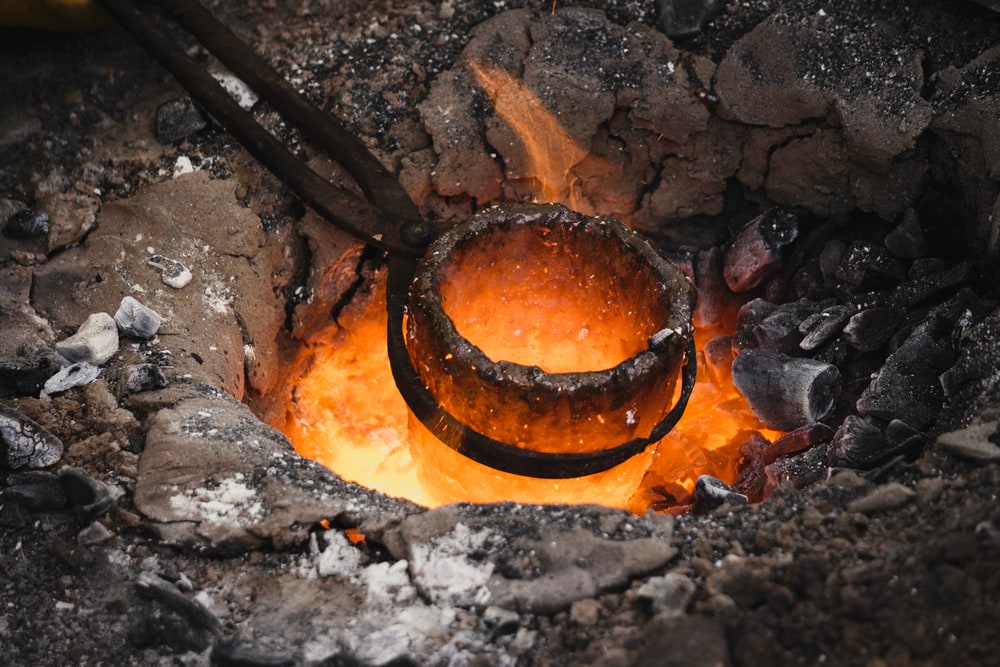
Why do we do this? Because charcoal burns better than wood. When used in stoves and for cooking it burns more efficiently and cleanly.
Charcoal is also a handy thing to have if you need to filter toxins out of water (or out of your stomach!). It is used in air filters, pyrotechnics, and in metal forging. Plus, if you get bored, you can draw with it!
Types of Charcoal
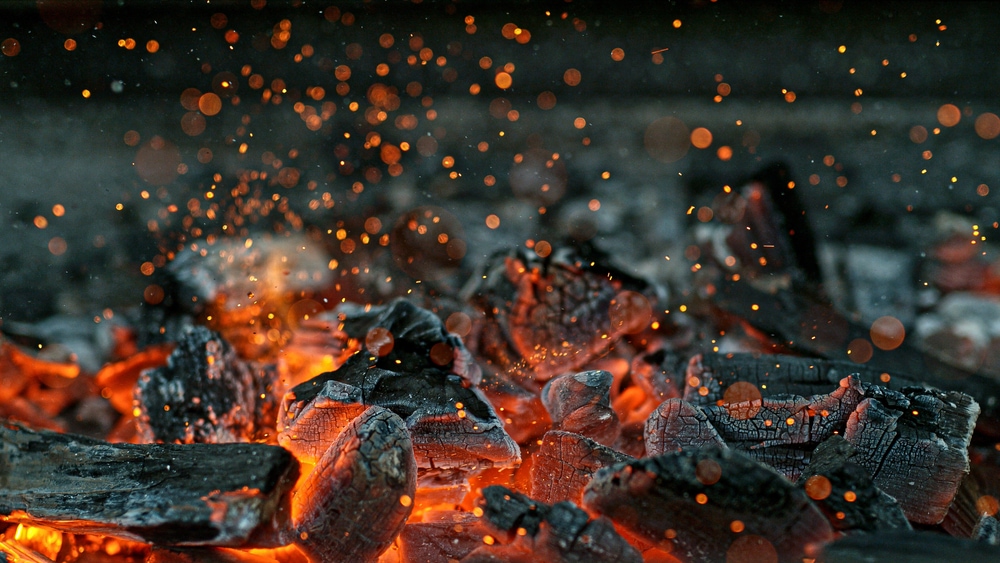
- Lump charcoal – made from lumps of natural wood. It is said to burn hotter and make food taste nicer!
- Briquette charcoal – made from little bits of leftover wood, sawdust, and additives to help form it into evenly shaped ovals. They are cheaper and burn longer, but not as hot or cleanly as lump charcoal.
Fire Tools & Equipment
Okay, so you don’t need much to light a basic fire. Just a heat source, tinder and air. If you are planning on making a lot of fires, or living outside a lot, it’s handy to have these tools:
Blow tube or bellows
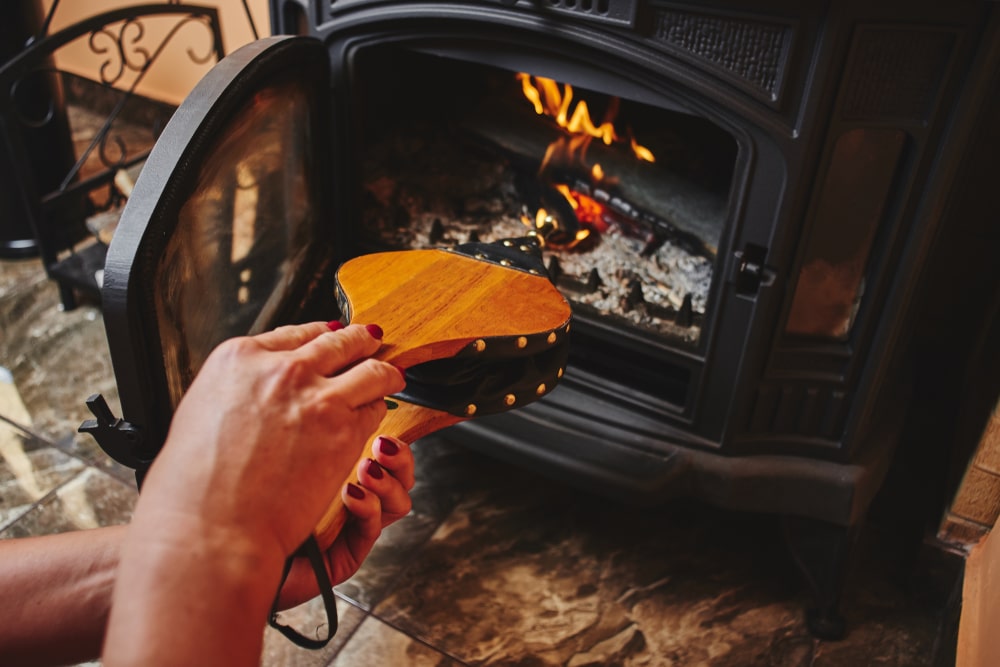
These pump a current of air into the fire. Without you having to get down on all fours and push your snout into the fire. You can make a blow tube by finding a 1m long piece of metal pipe and flattening one end to form a reed. Put it near the coals and blow.
Bellows are like a hand pump. Point the nozzle near the coals and squeeze rapidly a few times.
Fire extinguishers
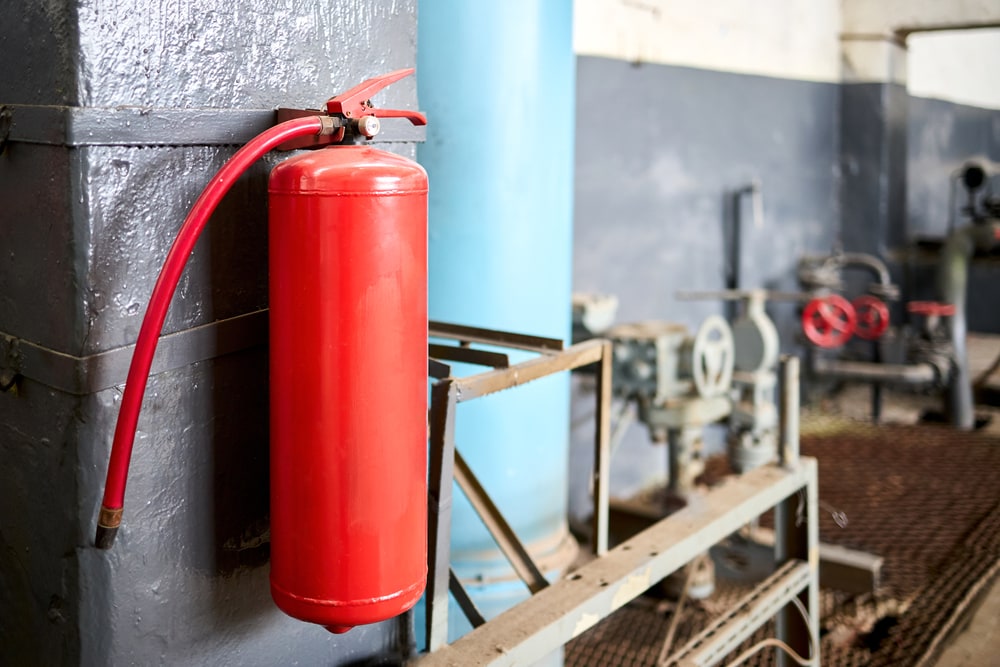
It is equally important to know how to put the fire out! If not more so!
If out camping, bring either a small extinguisher, or a bucket full of sand/water. Fire blankets are also good for oil and cooking fires.
Fire steel or strike flint
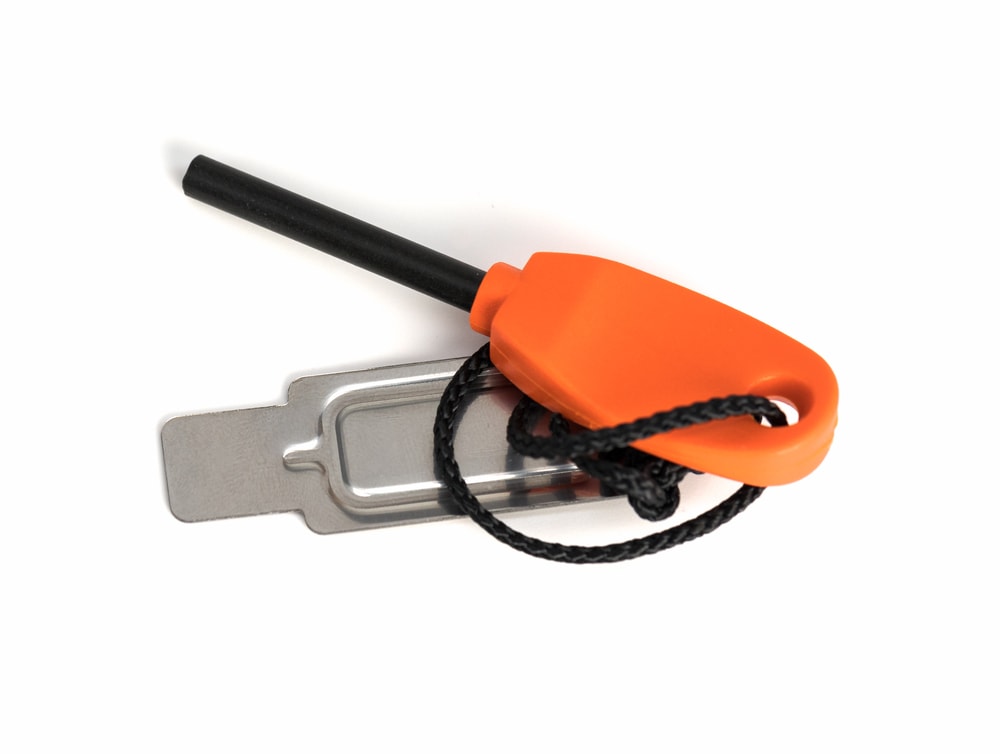
This tool is small but very useful, especially if your matches get wet! It works by sparks falling on tinder.. You can buy one in most camping shops.
Sealed case for matches
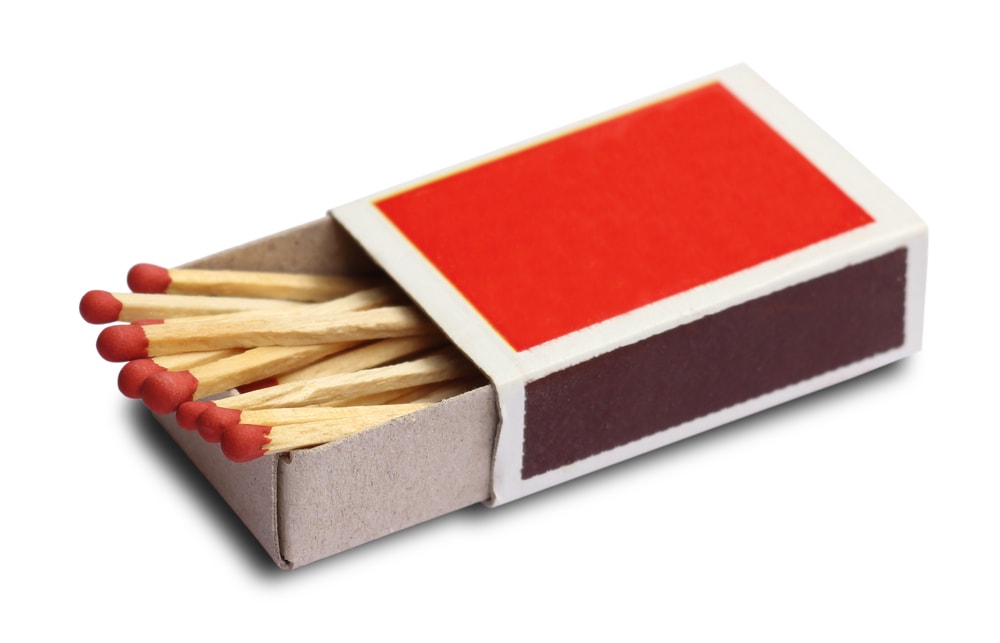
This doesn’t need to be specially made. I know several bushcrafters who keep their matches in old plastic film canisters. Any sort of sealable plastic pot will do.
Tripod
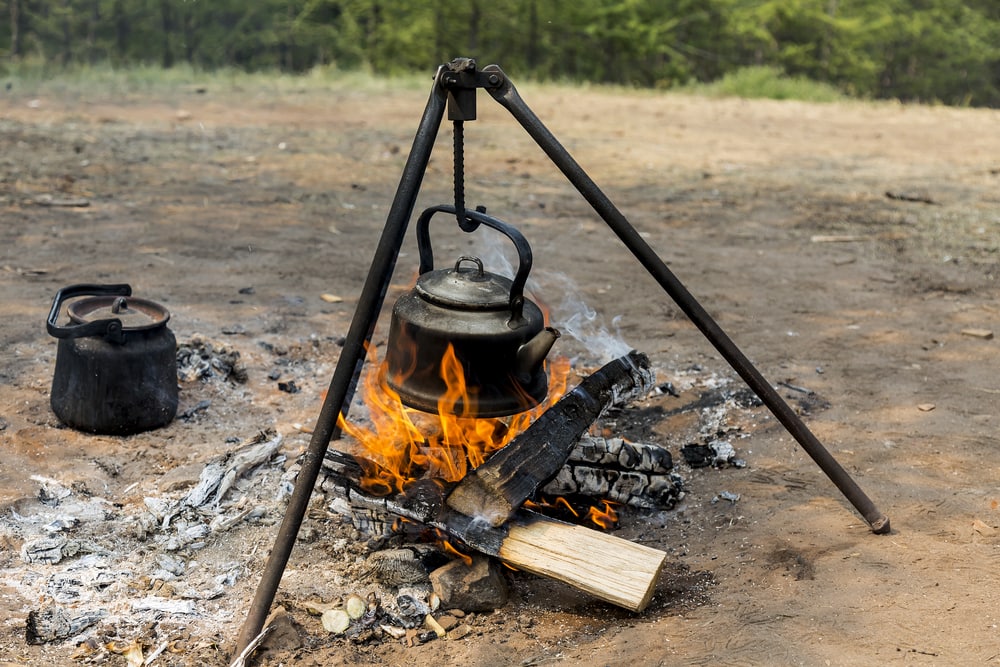
This is a three legged metal pyramid that you can hang a pot or cauldron from. This is really important if you like making soups and stews, or anything involving boiling stuff.
Boiling a pot or kettle sitting on top of burning logs is very dangerous. If the pot tips, you or your guests could get splashed with boiling water.
Dutch oven
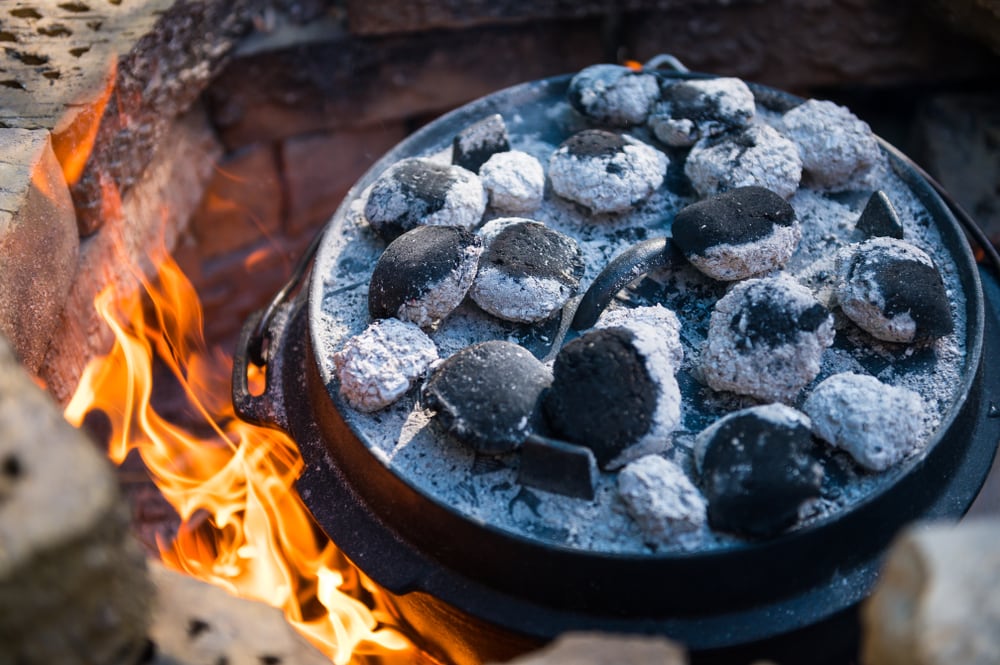
If you really want to branch out in wild campfire cookery, invest in a Dutch oven. This is a special heavyweight saucepan with a hefty lid. The lid has a brim sticking up. Which means you can bake things like bread and cake!
Simply shove the Dutch oven onto hot fire coals, and heap more coals around it and aon top of the lid. This creates that all-around cooking process known as the oven!
You might not want to carry this on a hike. It is pretty hefty. Leave it at base camp for the celebration pizza!
You May Also Like: How To Keep Food Cold While Camping
How to Keep a Fire Going FAQs
Is it true that if you cover a fire with ash overnight, it will keep the fire going?
People traditionally did this to slow down the amount of oxygen coming through the fire, meaning it burnt more slowly. Nowadays we have damper vents on stoves and more sophisticated ways to slow the burn on outdoor fires. These also don’t make so much mess.
Can I ‘carry’ fire with me?
This is what stone age people used to do, as they could not easily relight a fire. They might have got the fire from a branch that was struck by lightning. It was simpler to carry the fire about with them in the form of fire coals.
How do I carry fire as a coal?
You can carry fire as an ember by wrapping a glowing piece of hoof fungus or charcoal well in lichen or dry moss, then putting it into a can. This can last up to 8 hours and also doubles as a handwarmer!


