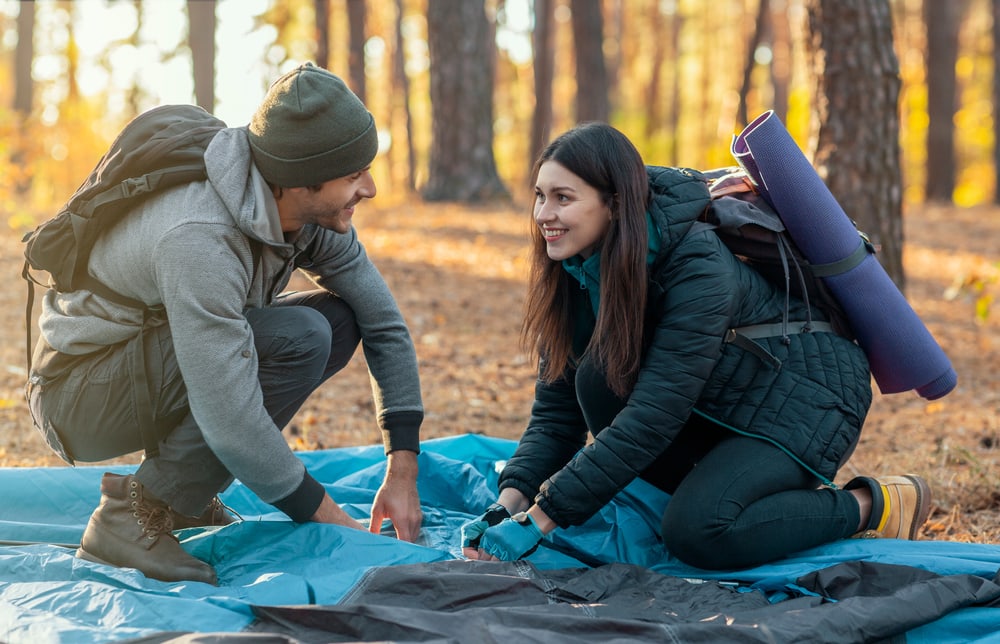
Camping can be incredibly fun, but all of the “necessary” gear starts to add up quickly. Some people want to go camping but can’t afford to buy a nice tent. Others would rather build their own shelter and tap into the bushmaster skills of shows like Survivorman.
No matter why you want to make your own tent, it’s a good skill to learn. In an emergency situation, being able to build your own shelter can be vital to survival. Even when you’re not in danger, there’s some feeling of accomplishment when you sleep inside something you built yourself.
In this How-To article, we’ll cover things you need to know in advance, what materials you’ll need for your DIY tent, and share some helpful tips to make camping more comfortable. This guide on how to build a tent will cover four methods listing both their needed materials and a step-by-step process for construction.
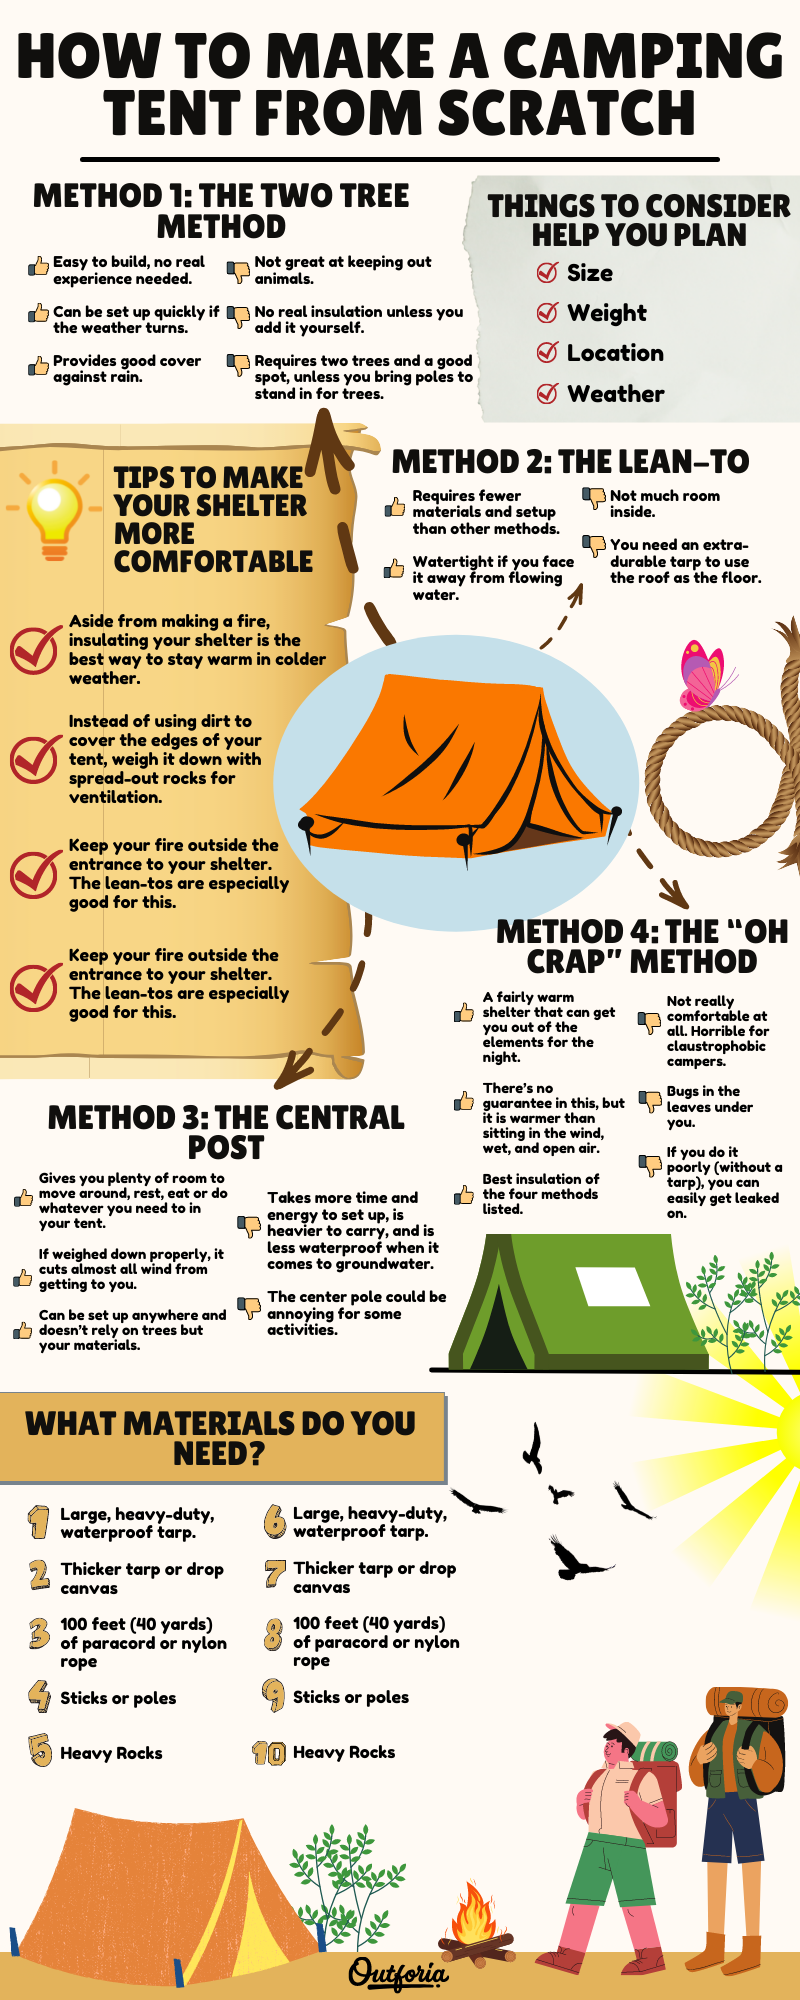
Share This Image On Your Site
<a href="https://outforia.com/how-to-make-a-camping-tent-from-scratch/"><img style="width:100%;" src="https://outforia.com/wp-content/uploads/2022/02/How-to-make-a-camping-tent-from-scratch-infographics-02092022.png"></a><br>How to make a camping tent from scratch Infographic by <a href="https://outforia.com">Outforia</a>You May Also Like: First Time Camping? Here Are The Tips on How To Set Up Your Campsite with Photos, Guide, Videos, and more!
What To Consider To Help You Plan and Build A Tent
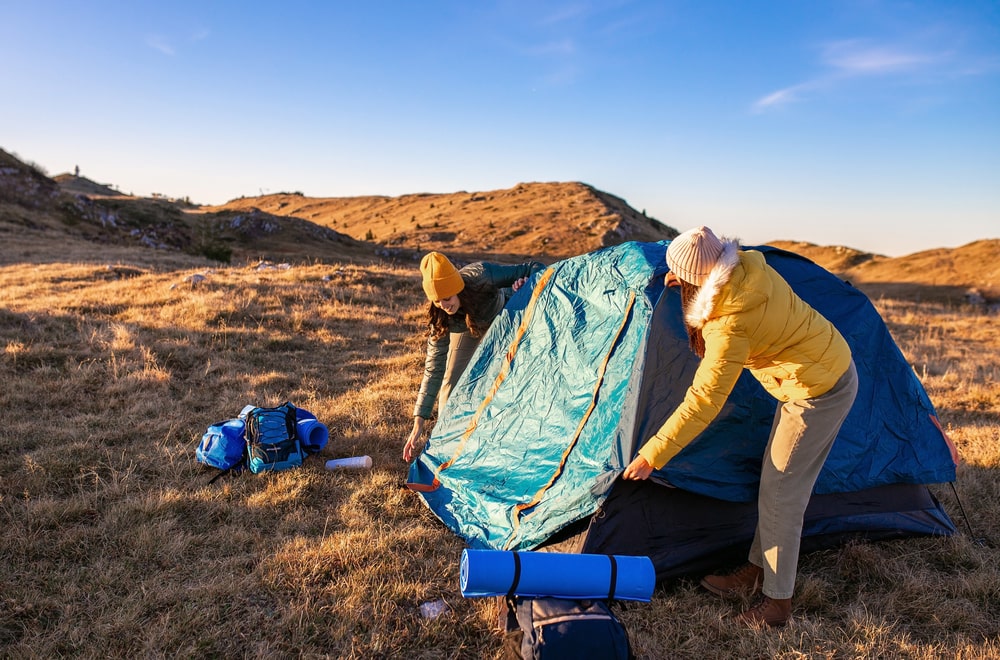
Having a plan before you start building can not only speed up the process but make it much easier for you, whether you’re in an emergency situation or on a weekend trip.
1. Tent Size

For your first DIY tent, it’s easier to start smaller. Building a one or two-person shelter gives you plenty of room and keeps the overall weight down for packing it around.
In a single-person shelter, you will need a length of your height plus one foot (0.3 meters), your width across the shoulders plus one foot (0.3 meters), and the height will be determined by the type of tent you make.
This gives you a snug shelter that won’t make you claustrophobic, isn’t overbearing in terms of size and takes less time and materials to build.
2. Tent Weight

If your tent is going to be one you carry with you and re-use, you need to consider the tent’s overall weight. Large tarps aren’t exactly light, and adding in other camping supplies, poles, and building materials can make hiking in or out of the bush an absolute chore.
A good way to cut down weight is to only bring a tarp or two and a sleeping pad. You can find sticks to use as poles or rocks to weigh down the edges. You’ll be using what nature provides you and only need your tarps and some rope!
3. Location to Pitch A Tent
Before you actually build your shelter, you need to find the best possible place to put it.
First, choose a reasonably flat spot for your tent. When you find a suitable spot, clear the ground. Be sure to pick up any sticks, rocks, or other debris that would end up poking you in the night.
Pitching your tent near trees is the best option. The trees will provide some shade and additional protection from the elements, as well as provide building materials. Be sure not to sleep under dead trees, so you can avoid trees or limbs falling on your tent.
Never pitch your tent at the base of a slope or in a ditch. In the event of rain, these areas will likely get an influx of water that will flood your sleeping quarters. Try to camp back away from the water’s edge as well, for the same reasons.
4. Weather

The weather in the area you’ll be camping in plays a massive role in how you build your tent, where you put it down, and a few other decisions you’ll need to make.
Clear, warm weather gives you a lot of freedom. You don’t need to worry as much about waterproofing or insulating your tent. The absolute worst way to try to get a good night’s rest is when you’re cold and wet.
Whenever possible, check the weather forecast before heading out. Be prepared though in case the weather changes.
In colder climates and seasons, a little insulation can go a long way towards keeping you warm. You’ll need to pack or find insulating materials if you’ll be camping in cooler temperatures.
You May Also Like: Learn What To Consider To Help You Plan Stop Condensation In Your Tent with Photos, Guide, FAQs, and more!
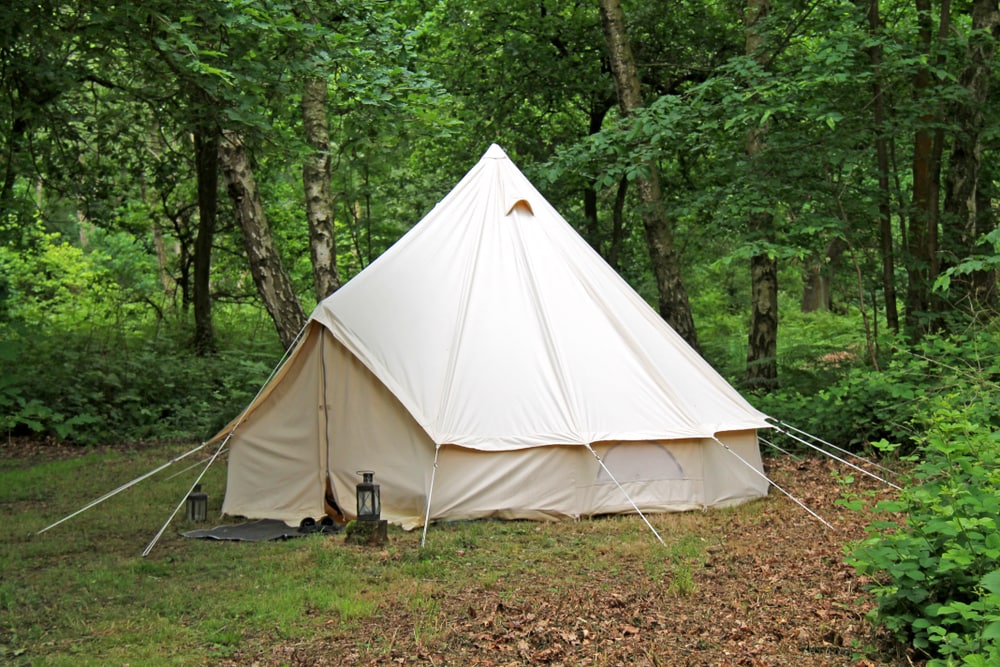
What Materials Do You Need for DIY Tent?
You May Also Like: There Are 3 Easy Steps On How To Safely Ground A Generator When Camping with Photos, Guide, Facts, and more!
4 Ways to Build Your Own Tent
Method One: The Two Tree Method
If you’re looking for a simple, easy-to-set-up tent then look no further than the two-tree method.
You will need:
Instructions:
Pros:
Cons:
Method 2: The Lean-To
If you’ve only got one tree to really work with and you don’t mind having a lot less space, you can always opt for a lean-to shelter built very much like the two-three shelter.
You will need:
Instructions:
Pros:
Cons
Method 3: The Central Post
A freestanding tent is the best option when you can’t find ideal locations in forested areas. This one takes a bit more work, but can be set up just about anywhere. Using a central pole is the simplest way to get a stable structure.
You Will Need:
Instructions:
Pros:
Cons:
Method 4: The “Oh Crap” Method
This method is more of a bonus method for people who could use a quick way to get an overnight shelter or are gluttons for punishment. Without a tarp, you’ll have a hard time making a waterproof shelter and I advise against doing this one for fun. That being said, it’s good to know a little about how to get something over your head for a night in a pinch.
You Will Need:
Instructions:
NOTE: If you do have a tarp and for whatever reason don’t want to or can’t build one of the other shelters you can absolutely use it here. Start the same way, but before you line the edges with sticks, evenly through your tarp over the center pole. After you pin it down you can start layering on leafy boughs or just go straight for leaves.
Pros:
Cons:
You May Also Like: This Is Your Guide On How To Make A Tarp Shelter Without Trees with Photos, Infographics, FAQs, and more!
Tips to Make Your Camping Shelter More Comfortable
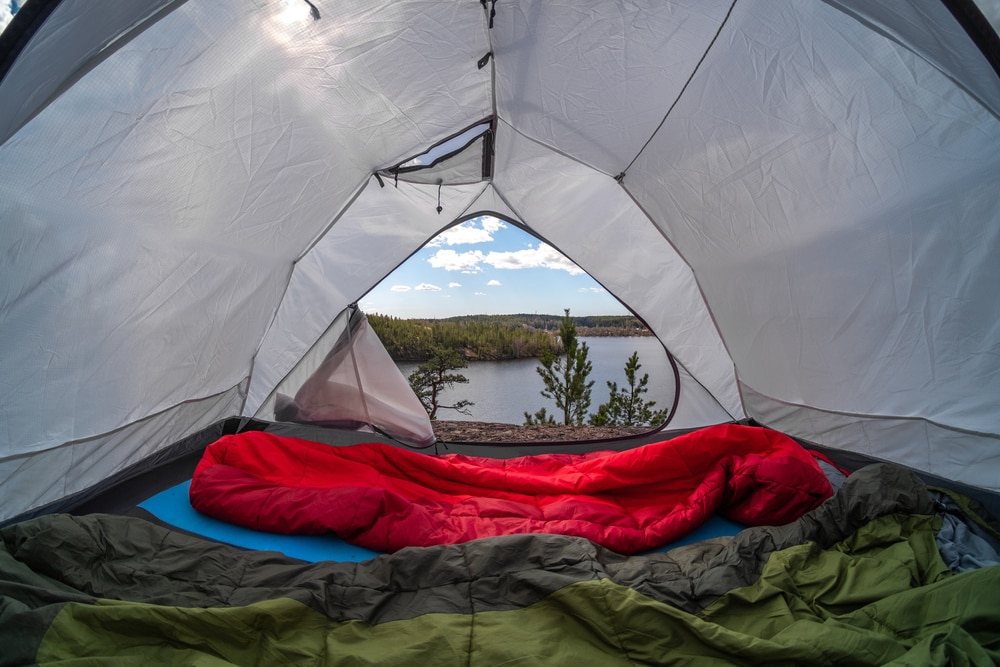
There’s always something you can do to make your tent more comfortable. If you’re staying out for an extended period, small changes can make a huge difference in your quality of sleep.
Check out our article on how to sleep comfortably in a tent for more tips.
Tips for Better Air Ventilation When Camping
Whether it’s hot or you just want some freshness inside, your tent will likely need some kind of air ventilation. You have a few ways to do this.
Instead of using dirt to cover the edges of your tent, weigh it down with spread-out rocks. This will let air flow underneath the walls and help keep it moving inside.
Alternatively, you can cut some holes in the tent walls. To help keep bugs out, you’ll need them covered, but open. Basically, you’ll want to cut a window or two into the tent, and then sew on bug mesh to cover it. Air can come in, but bugs can’t.
Tips for Staying Warm in Your Tent
Aside from making a fire, insulating your shelter is the best way to stay warm in colder weather. You can do this in a few ways. Cutting out the wind from getting inside your shelter is incredibly helpful for nixing windchill. Instead of rocks, you can put a decent layer of dirt on the edges of your tent to keep air from getting in underneath.
It’s helpful to only have one open end of your tent as well. You can shift your tarp to close off one of your entrances if you have more than one or block it with layers of sticks and leaves.
You also need insulation from the ground. Sleeping right on the dirt or with only a thin layer between you will sap the warmth right out of you. When you build your tent, you have multiple options for achieving this.
You can fill the floor of your shelter or the entire thing with an insulating material like leaves. This is better for more primitive tents like our last method though. If it’s going to be cold out, don’t forget to pack a sleeping pad. It’ll keep you off the ground and give you some extra warmth.
Where to Place Fires for Warmth and Cooking When Camping
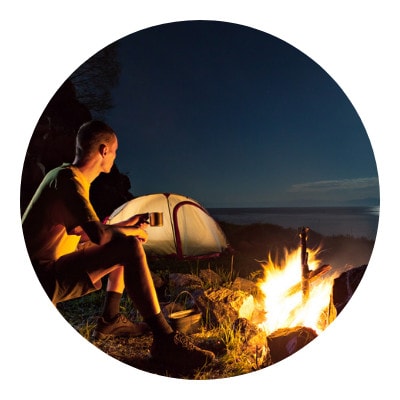
None of the above methods allow for a campfire inside of them. Smoke inhalation is not something you want to try and you definitely don’t want to set your shelter on fire.
You’ll want to, above all, keep your fires small and under control. You can’t use a crazy-roaring fire for warmth or cooking.
Keep your fire outside the entrance to your shelter. The lean-tos are especially good for this. Putting your fire at the entrance lets you radiate heat inside and off the walls without allowing smoke inside your shelter. Face the shelter downwind if the wind direction is consistent to help with that as well.
If you have a wood stove or other contained fire, you can keep it inside. Any of the tents work for this, you’ll just need a hole in the roof for a chimney. Be sure it’s a tight fit so you aren’t letting in leaks or too much cold air.


