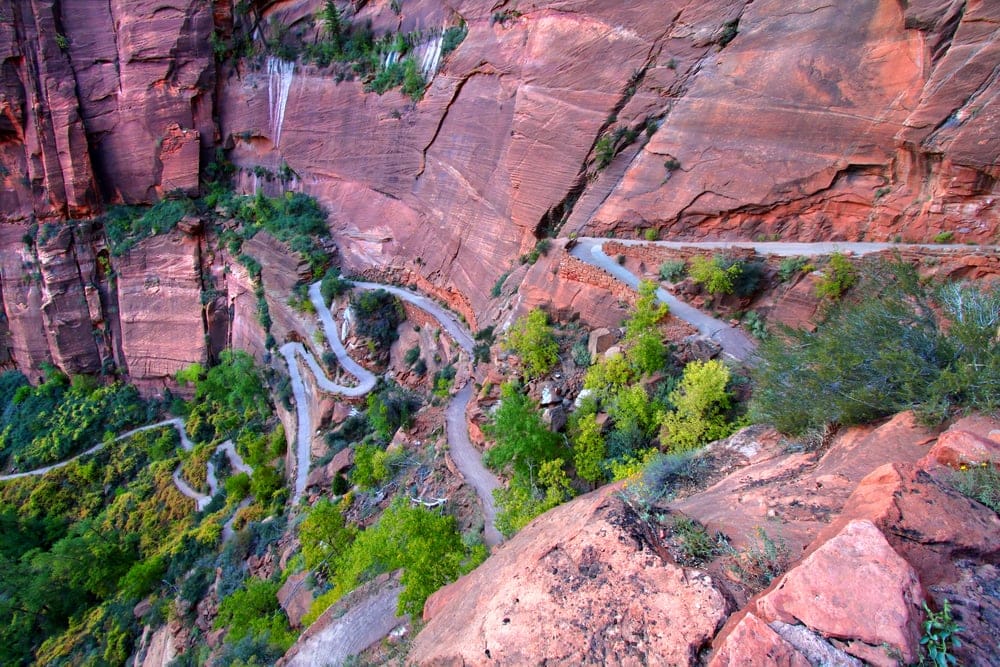
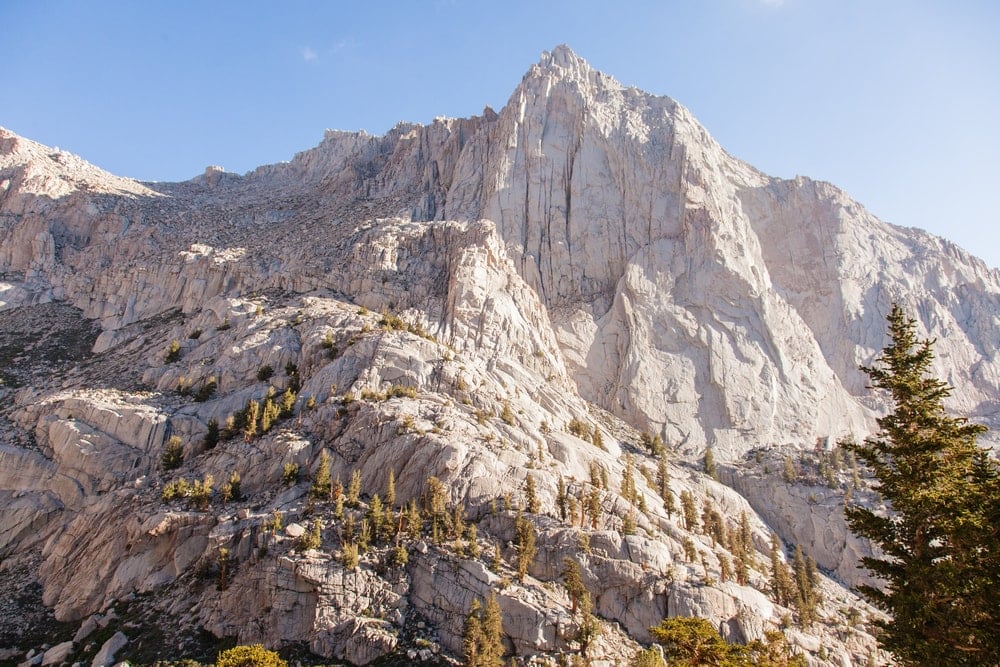
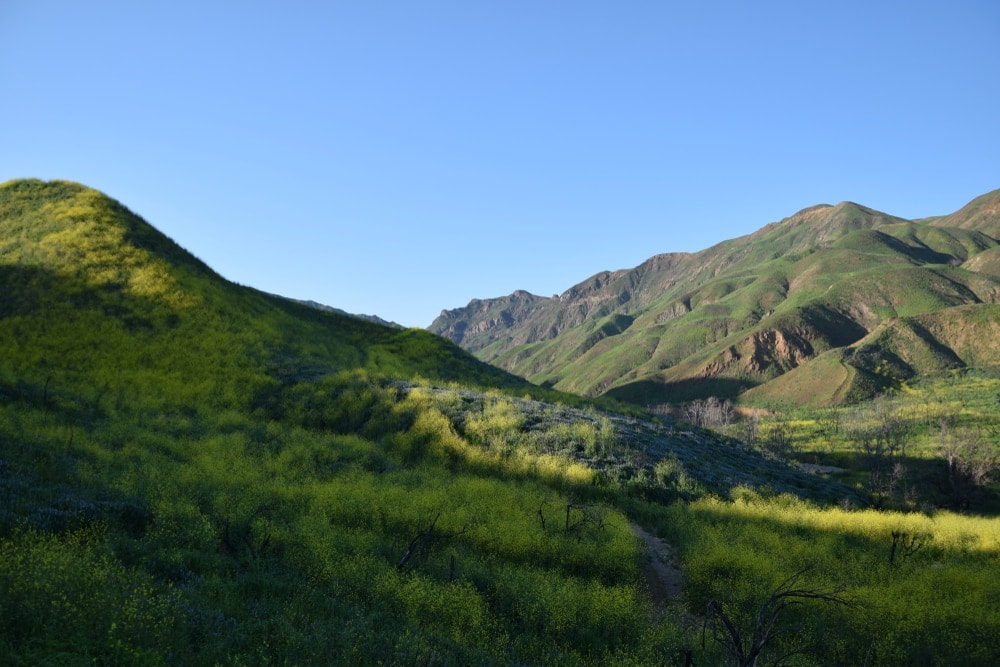
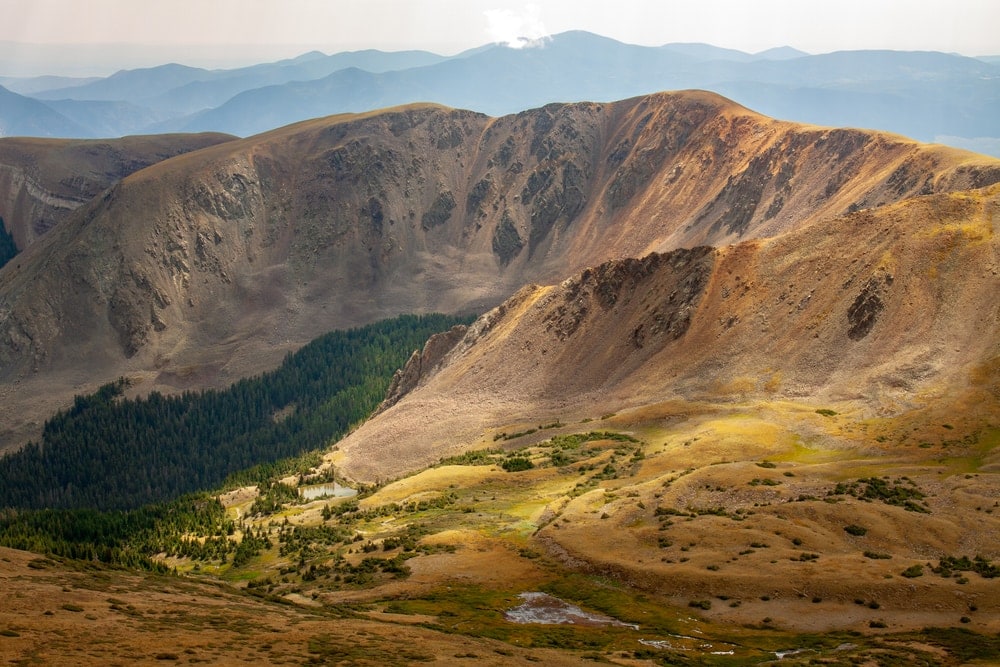
A switchback is a type of path that follows a zig-zag pattern up a steep stretch of terrain such as a hill or mountainside. Rather than climbing directly up the slope, switchbacks run from one side of the slope’s face to the other before “switching back” and continuing in the opposite direction.
Even if you’re not a diehard outdoor enthusiast, chances are you’ve heard the term “switchback” before.
It’s a piece of jargon that dates back to at least the late 19th century, long before paved roads, four-wheel-drive, and all-terrain vehicles made scaling mountains a mundane task. It has a kind of sexy technical quality to it, evoking images of dusty boots and sunset-silhouetted cliffs.
But what exactly is a switchback, and why is it important to know how to navigate one before you embark on your next big adventure? Let’s take a closer look at this key topographical feature and its relationship to recreational hiking.
What Is a Switchback?
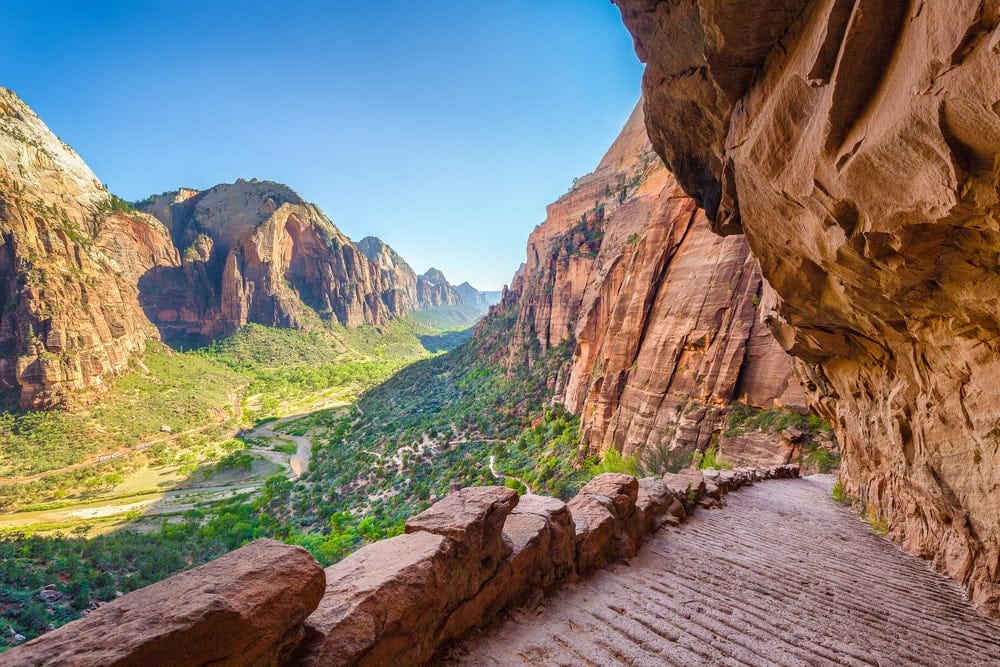
A switchback is a type of path that follows a zig-zag pattern up a steep stretch of terrain such as a hill or mountainside.
Rather than climbing directly up the slope, which would make for an exhausting trek and open the door for any number of potentially dangerous situations, switchbacks run from one side of the slope’s face to the other before reversing course—or “switching back”—and continuing in the opposite direction.
This casual to-and-fro motion makes it far easier for hikers to deal with drastic changes in elevation by breaking them down into shorter, more digestible sections. It also allows them to steer clear of obstacles like dense brush, rock piles, drop-offs, and natural geological elements and waterways that could stall progress on a straighter route.
Switchbacks are more than just a convenient development in trail engineering. They can be a literal lifesaver if you’re hiking somewhere with an extreme gradient and a lack of secure footing.
A Brief History of the Switchback
While we have no definitive historical record of how switchback trails came into being, it’s safe to assume that they’ve probably been in use since humans first began lugging themselves and their possessions over mountains and other arduous terrains.
Early travelers undoubtedly would have learned rather quickly that attempting to walk directly up a near-vertical pitch is simply more trouble than it is worth. Instead, the brighter minds among them would have resorted to scrambling up diagonally, finding that this approach presented them with a more forgiving angle of ascent.
As these experimental byways became more established, their smooth, alternating trajectories would have come in handy for leading carts and pack animals, which likely would have been loaded with hundreds of pounds of food, clothing, tools, or commercial wares. A gentler incline meant an easier journey, better footing, and less risk of losing a valuable animal or precious supplies.
This same trail planning strategy would later be used to devise railway routes all over mountainous regions of the United States and other countries.
In fact, the basic principle of the switchback led to the invention of something known as the gravity railroad, a popular form of conveyance in the 19th and 20th centuries that made it possible to transport people and goods downhill using only downward momentum. Gravity railroads gave passengers such a thrill that they would go on to serve as the inspiration for another major invention you might have heard of—the roller coaster.

Switchback on the White Pass and Yukon Railroad, Alaska ca 1899
Nowadays, switchbacks are a ubiquitous sight on hiking trails and other high-altitude passages. In addition to marking the way to popular outdoor attractions, it’s not unusual to spy them on mountain roads that wind their way up and down areas that might otherwise be too dangerous to traverse via automobile.
Tips for Hiking Switchbacks
Hiking a trail fraught with serpentine switchbacks isn’t all that different from hiking a straight open land path. But there are a few things you should know about them if you want to save yourself some trouble and get the most out of your trip.
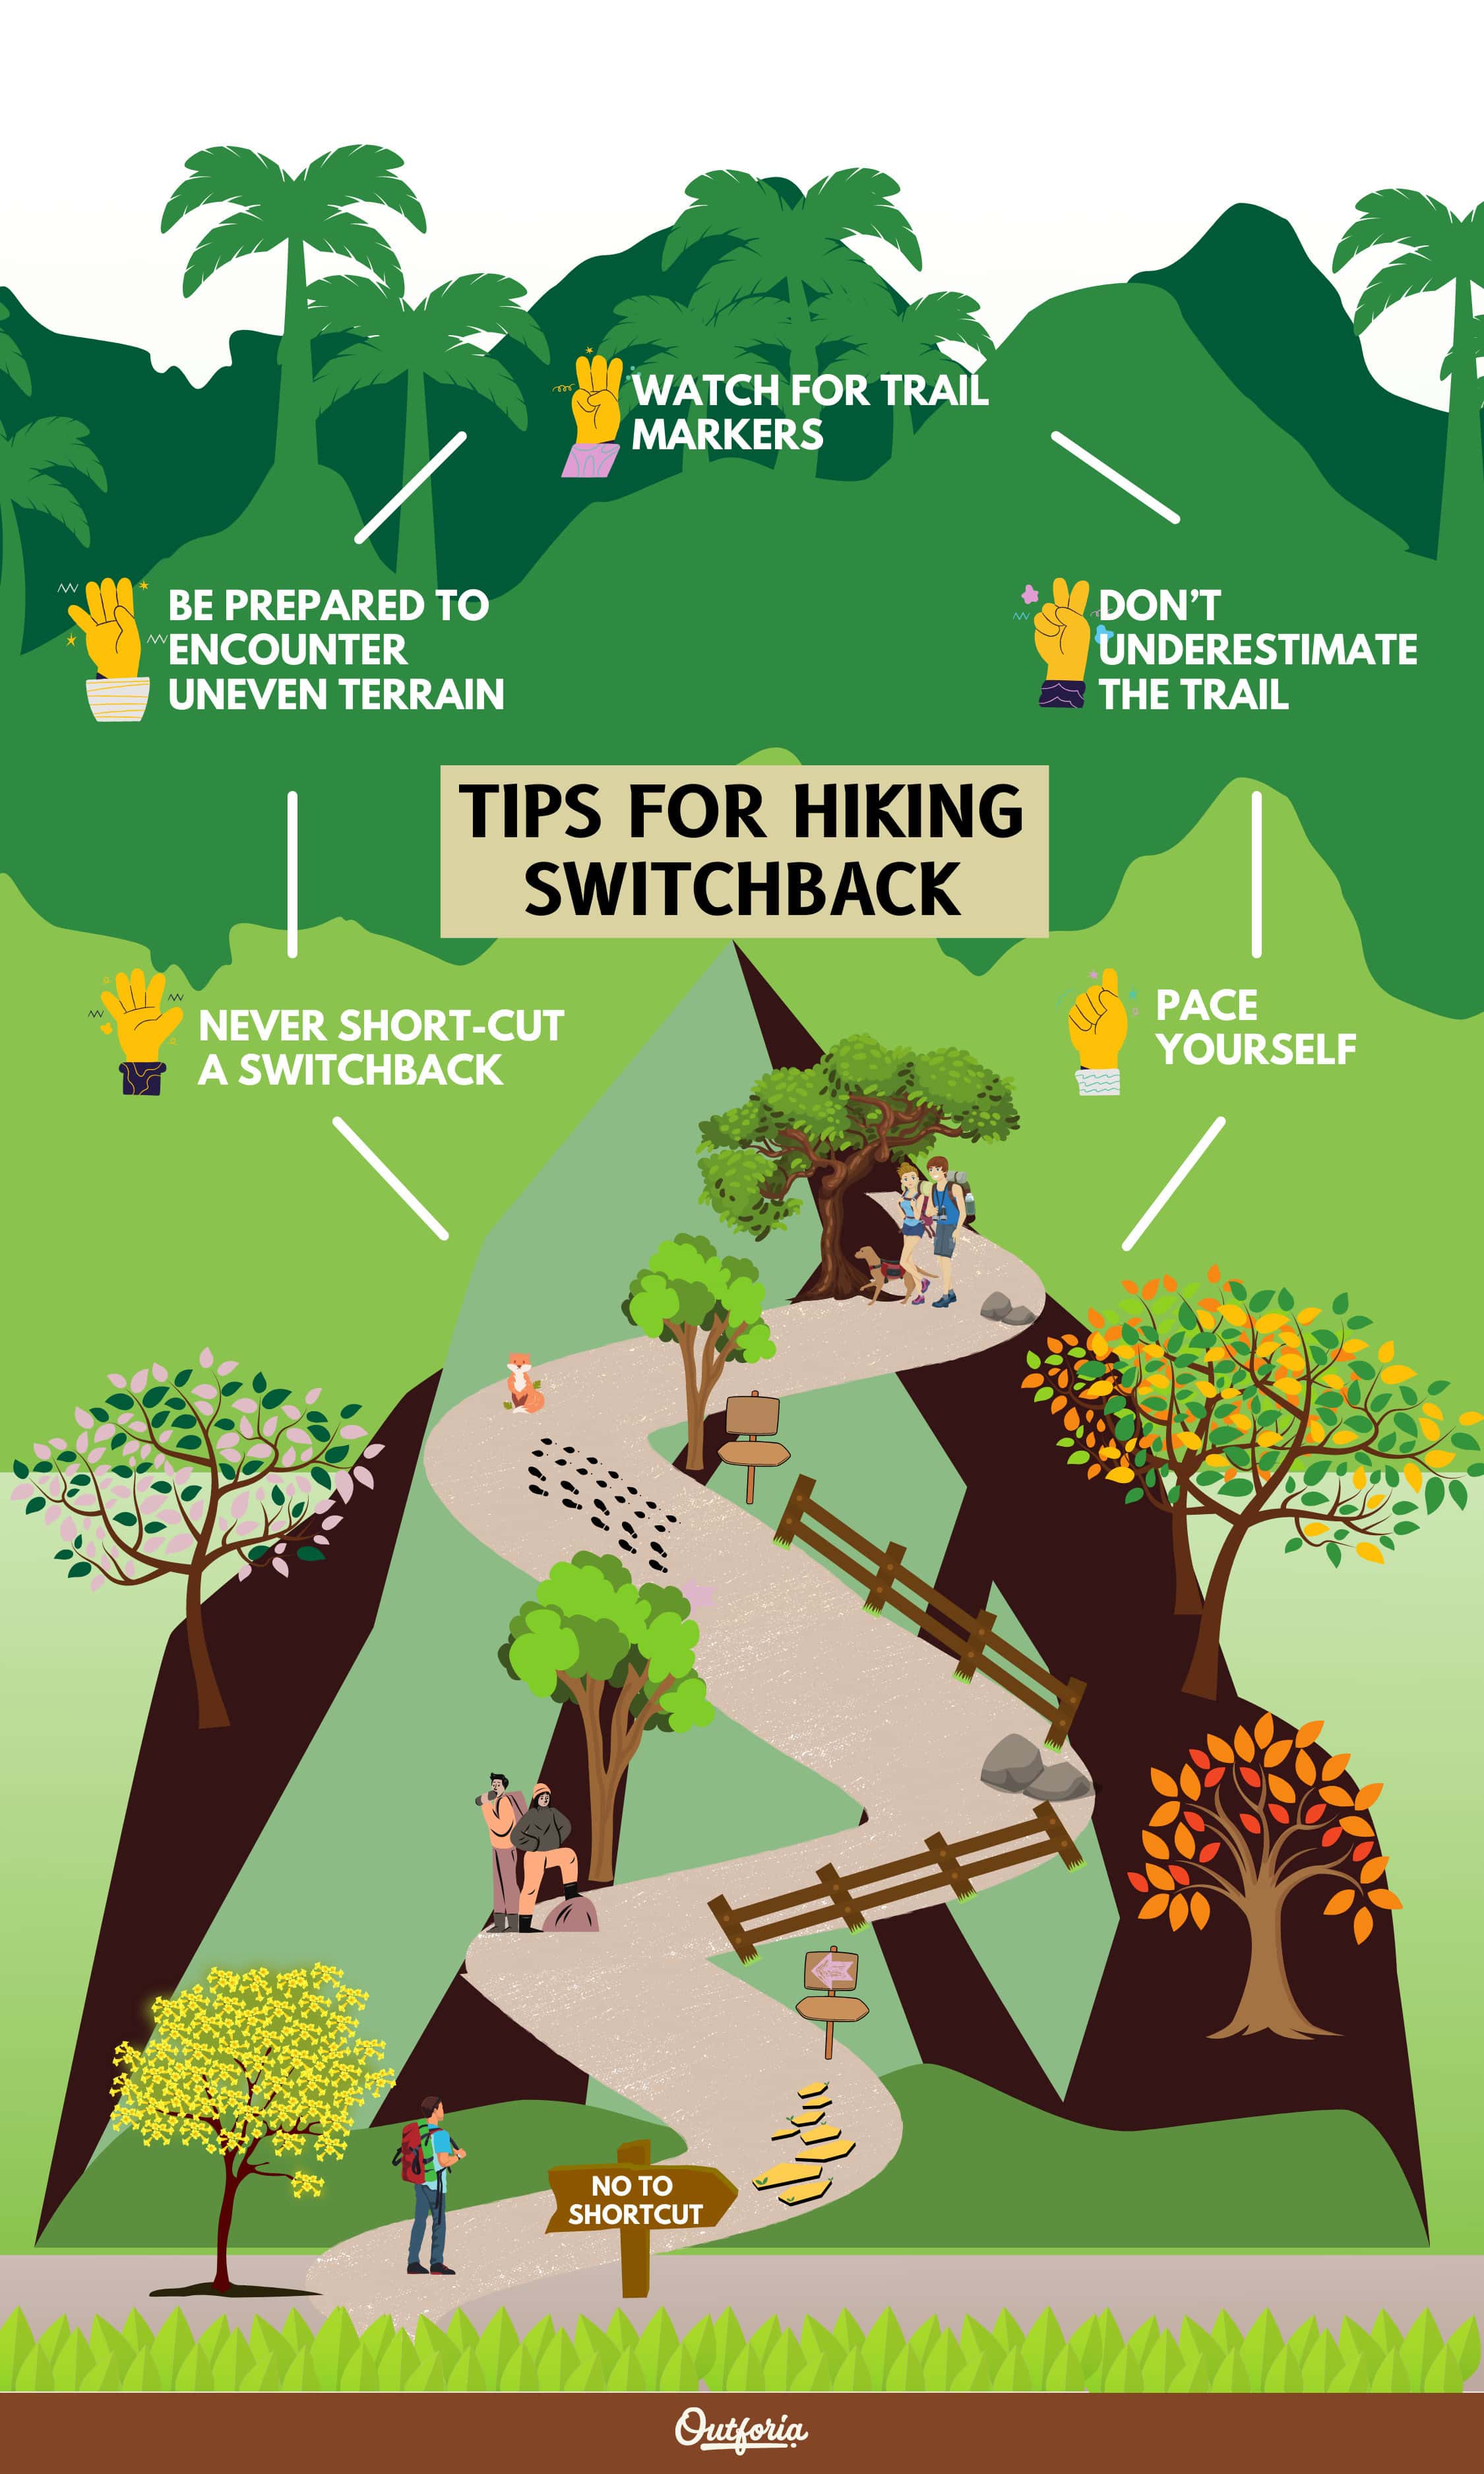
1. Pace Yourself
Switchbacks spare you the labor of tackling hills and ridges head-on. But their expediency comes at a price, which is a considerable increase in the total length of the trail.
Think about it like this: instead of going from Point A to Point B, a trail containing multiple switchbacks will start at Point A and veer over this way, then double back on itself, then 180 again and continue meandering along in this unhurried fashion, at last reaching its endpoint after many dizzying about-faces. It will therefore be much longer than one with few or no deviations.
In other words, you’ll have a lot farther to go than it might initially seem.
With this in mind, it’s best to take your time and avoid rushing through a zig-zagging section of the trail in an effort to reach your destination faster. Not only will this wear you out in no time flat, but it will also deprive you of a chance to drink in the beauty of your surroundings. After all, the real magic of a hike lies in getting there.
2. Don’t Underestimate the Trail
Switchbacks are intended to reduce the overall difficulty of a given trail. By decreasing the grade and stretching it out over a greater distance, they can turn a daunting slog into an enjoyable jaunt, one that allows you to keep up a steady pace without totally obliterating your legs or lungs.
That doesn’t mean they’re a proverbial walk in the park. Not by a long shot.
Switchback trails are often quite steep—in some cases almost as steep as the rises they’re etched into, despite the fact that they extend much further. They also tend to be narrower than open and backcountry trails, with precarious, frequently-unguarded slopes on the downhill edge.
For these and other reasons, it can be a mistake to take a hike lightly just because you see a few unassuming switchbacks on the map. Failure to respect the trail you’re traveling on could set you up for a humbling—or even hazardous—experience.
3. Watch for Trail Markers
Some trails are harder to follow than others, especially if they don’t see much regular foot traffic. This is true of switchbacks, as well.
As you proceed down the path, keep your eyes peeled for signs, reflectors, flags, paint blazes, or other trail markers. The presence of these indicators will confirm that you’re going the right way and keep you from wandering off somewhere you’re not supposed to be.
Depending on your location, getting off course could land you in hot water.
There are the usual perils to watch out for, of course, like getting lost or stumbling across a type of bear, a large predator or unseen trail hazard. But there’s also the risk of disturbing vulnerable wildlife habitats or doing damage to the natural environment in some other way
If you’re worried about getting turned around, take some time to study a map of the trail before you set out. A good trail guide will tell you everything you need to know about the terrain you’ll be up against plus showcase interesting tidbits about the local flora and fauna. A great one will also give you directions to hidden gems like waterfalls, caves, and swimming holes.
4. Be Prepared to Encounter Uneven Terrain
In the best-case scenario, a switchback trail will be more or less flat underfoot. More often than not, however, it will be rocky, root-strewn, and uneven from mile one.
When the road gets rough, remember to take small, careful steps and always check your footing before setting down your full weight. At times you may come upon places where the path is slightly angled, usually towards the lower end of the slope. In these spots, you’ll want to walk with your feet at a corresponding angle to maximize your contact with the ground.
Since this kind of marching can be pretty tough on your ankles after a while, it’s a good idea to strap on a sturdy pair of high-top boots that provide some degree of ankle support. You’ll be glad you did at the day’s end.
Make sure your footwear offers solid traction, as loose rocks and shifting soil are practically guaranteed no matter where you happen to be roving. Hiking poles, while not a necessity, can lend a little extra stability and can be a big help when testing your next step.
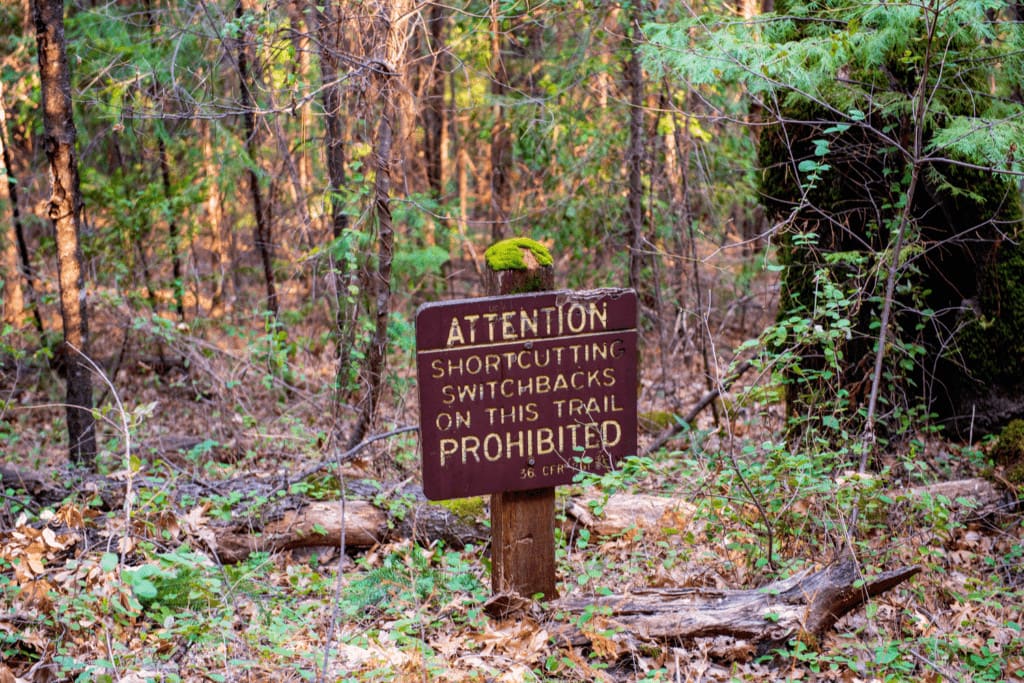
5. Never Short-Cut a Switchback
Universal trail etiquette dictates that hikers stick to their chosen trails at all times.
It’s considered bad form to ignore the path that’s clearly laid out for you and go off on your own. Why, you ask? Because this sort of behavior can destroy vegetation and create or worsen soil erosion, which can, in turn, have harmful effects on any type of plant and animal life. This is the last thing we want.
You might occasionally be able to make out a faint footpath running up the middle of a switchback, but these are generally made by either park authorities or scoundrels who break the rules. Either way, you shouldn’t follow their example.
Remember, as lovers of the Great Outdoors, our foremost responsibility is to leave no trace. That means packing out food and trash, yes, but it also means actively taking steps to limit our interference with the course of nature. One such step is to stay on the trail.
Share This Image On Your Site
<a href="https://outforia.com/what-is-a-switchback/"><img style="width:100%;" src="https://outforia.com/wp-content/uploads/2021/05/Graphic-What-is-a-switchback-1.jpg"></a><br> Tips For Hiking Switchback Infographic by <a href="https://outforia.com">Outforia</a>You May Also Like: Learn Why You Need Trekking Poles With Complete Guide, Infographics, Pro Tips and more!
Famous Switchback Trails
Looking for a fun yet challenging switchback hike to kick off the season? Try out one of these well-trod favorites. Each offers stunning scenery and lots of tricky directional changes with no special equipment or overnight camping required. What’s more, they’re all located in the good ol’ U-S-of-A:
- Angel’s Landing (Zion National Park, Utah)
- Deer Mountain (Tongass National Forest, Alaska)
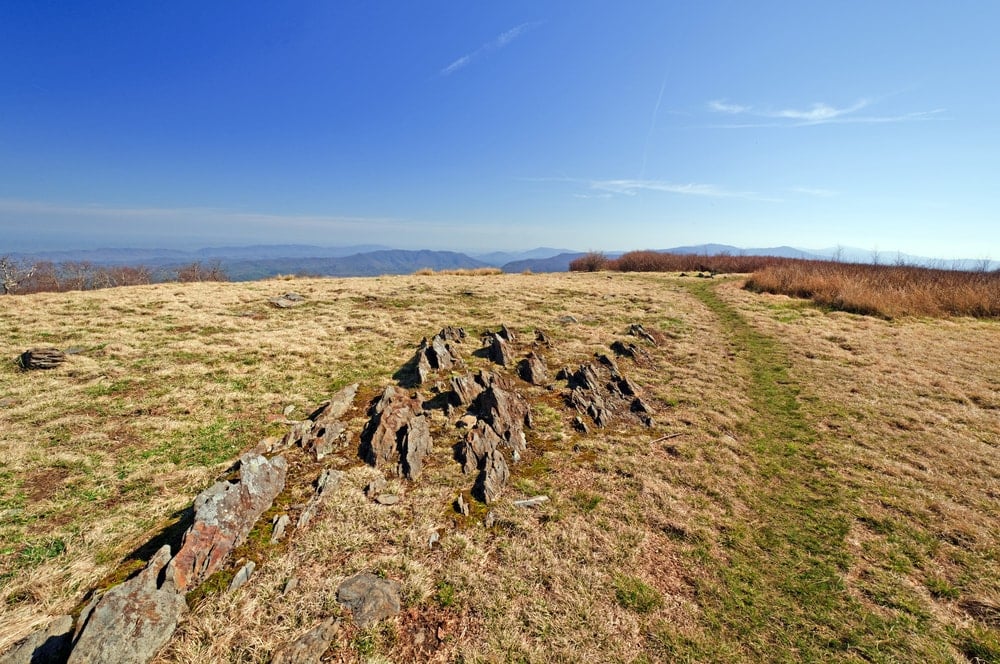
- Gregory Bald (Great Smoky Mountains National Park, Tennessee)
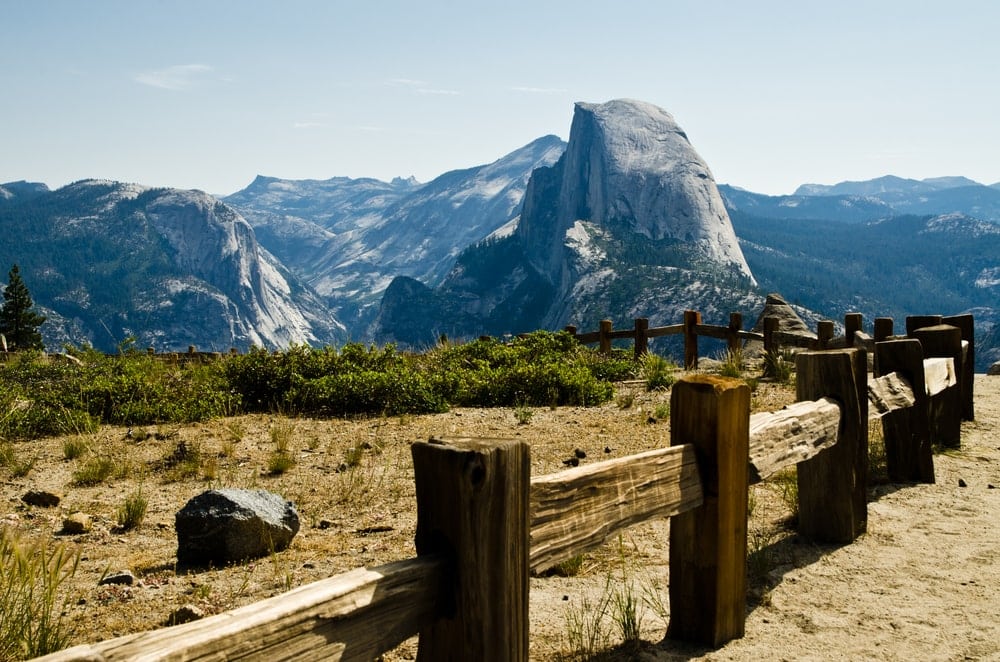
- Half Dome (Yosemite National Park, California)
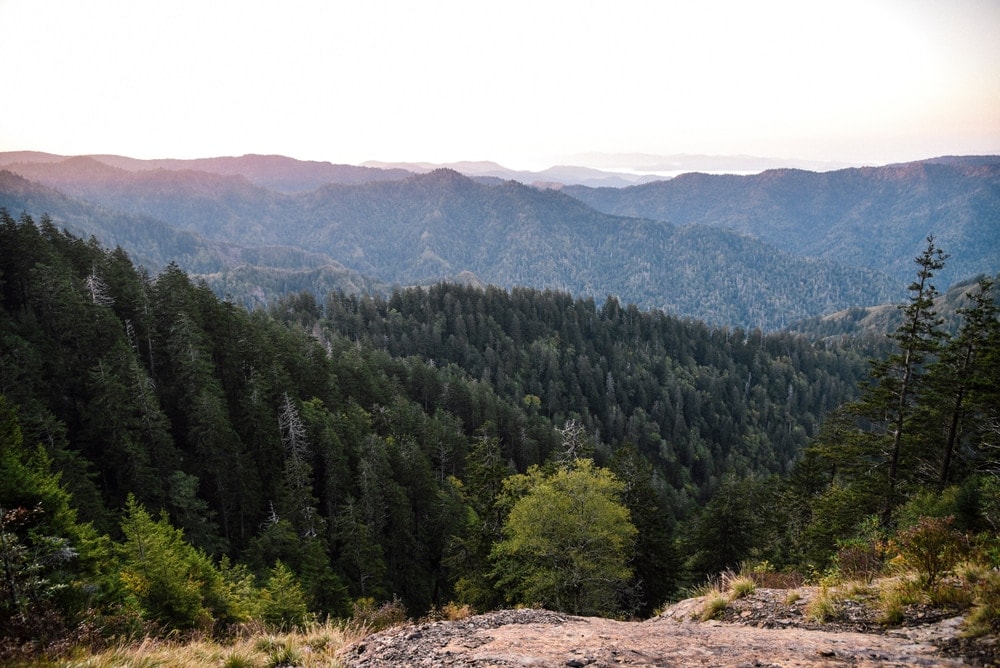
- Mount LeConte (Great Smoky Mountains National Park, Tennessee)
- Mount Whitney (Sierra Nevada, California)
- Pololu Valley (Kohala Mountain, Hawai’i)
- Precipice Trail (Acadia National Park, Maine)
- Saddle Peak (Santa Monica Mountains, California)
- Wheeler Peak (Sangre de Cristo Mountains, New Mexico)
FAQ
Still got questions? Here are answers to some of the most common queries about switchbacks, their uses, and how to hike them safely and successfully.
What is the purpose of switchbacks?
Switchbacks make hiking steep terrain less grueling by decreasing the grade, or incline, of the trail. Since you’re not being forced to charge directly up a hill or mountainside, you can take your time reaching the summit and conserve enough energy to actually appreciate it once you get there.
Trail planners also use switchbacks to preserve control over soil erosion on at-risk slopes, thereby preserving the sanctity of important natural areas. That’s a win-win if you ask me.
What is cutting a switchback?
“Cutting” a switchback refers to the practice of taking a shortcut up a lengthy switchback trail by walking directly up the slope. Like I mentioned previously, this is a big no-no.
Always stay on the trail unless for some reason it’s unsafe to do so, as in the case of a bear sighting or rockslide. Resist the temptation to bypass a switchback by clambering up the slope in the middle or on either side, even if there’s evidence to suggest that others have done it. The trail is there for a reason. Use it.
What is a switchback in mountain biking?
Mountain biking trails are another place you’re likely to come across switchbacks.
These are similar to the kinds of switchbacks you’d find on a typical hiking trail, only with tight hairpin turns that may or may not provide enough space to allow both wheels to follow the same line. Mountain bikers often have to learn special techniques for negotiating switchbacks on their noble steeds.


