Camping is fun and exciting, but let’s be honest: it can also feel a bit overwhelming.
If you don’t have any experience with setting up a campsite, you might not know how to go about it. This could result in you arriving at the campgrounds and feeling very stressed or realizing you don’t have the gear you need because you haven’t properly prepared. If this happens, it is best to have a camping checklist with you the day before you go.
How long does it take to set up a campsite?
It should take you no more than 20 minutes. Yes, really! That’s what you can achieve by following the steps in this campsite tutorial.
They will also help you to feel much more confident about camping in general, which I always find makes me have much more fun in the outdoors.
Here’s your ultimate guide on camping for beginners: how to set up your first campsite.
History of Camping
Camping for fun dates all the way back to the early 1900s, when a man by the name of Thomas Hiram Holding wrote The Camper’s Handbook in 1908.
He’d been inspired by childhood memories that involved him crossing the U.S. prairies in a wagon trail.
When the American Boy Scouts was established in 1910, camping was incorporated into its program and formed a major part of it. This showed how camping was becoming more ingrained in people’s lives.
Once the 1920s came around, camping increased in popularity because of how the American economy was booming. Leisure time was increased for workers and this took the form of activities such as camping.
By 1930, over three million people were camping all over the country. Camping’s popularity was increasing in other parts of the world, too. In 1932, the International Federation of Camping and Caravanning was formed, and this was known as the world’s first international camping organization.
Nowadays, camping is still very popular, with studies showing that since 2014 the number of campers has increased by 22 percent.
So why is camping fun? Camping gives you a chance to escape into soothing nature and tune out of the stresses of daily life, so you don’t want to bring more stress to your camping experience by not knowing how to set up a campsite.
What You Will Need To Set Up Your Campsite
- Tent
- Tent poles
- Ground tarp
- Rainfly
- Cooking stove
- Bear-proof food canisters
- Trashbags
- Table for cooking
- Foldable camping chairs
- Tinder, wood, and kindling for fire-making
- Lantern
- Headlamp
- Optional: portable toilet or your DIY toilet
How To Set Up Your Campsite
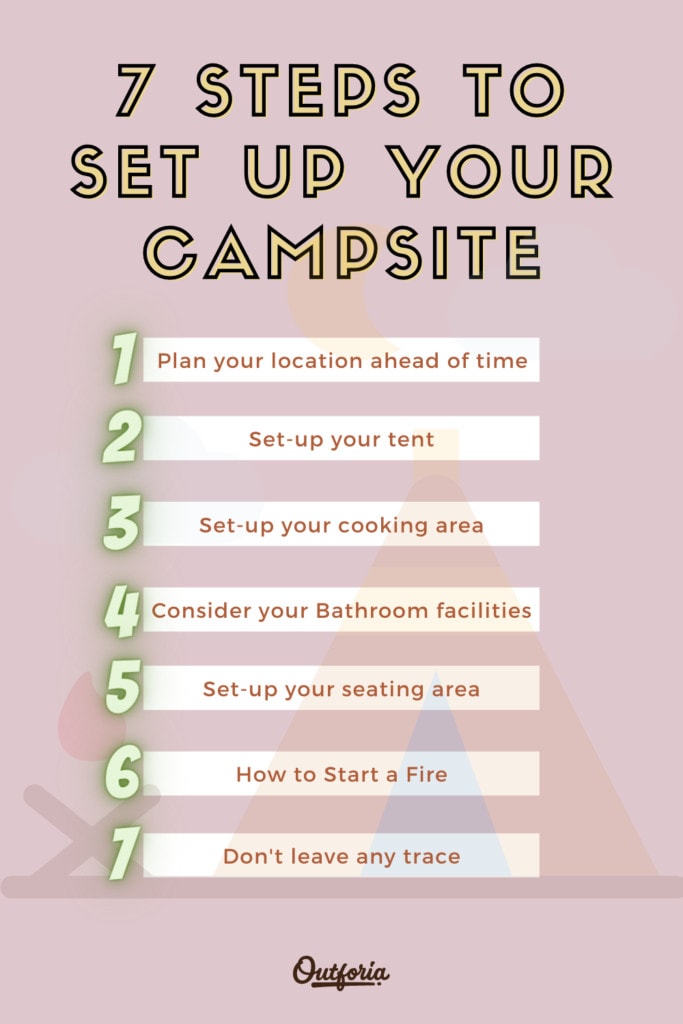
Step One: Plan Your Location Ahead Of Time
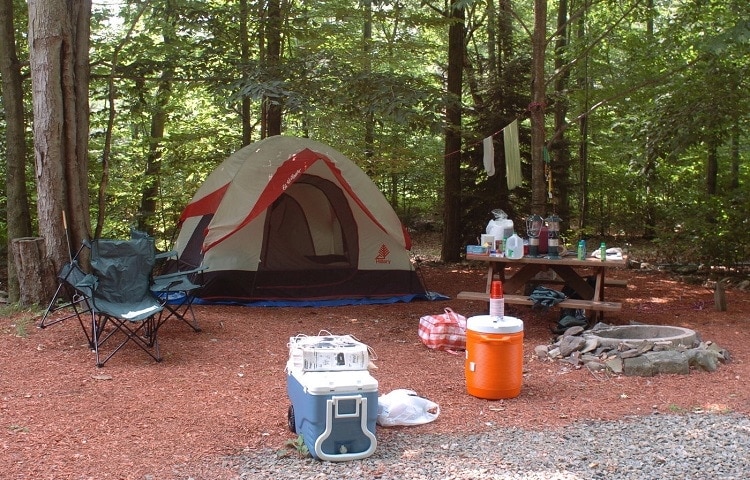
You can’t just choose any land on which to set up camp at the last minute. Ideally, you should plan ahead by thinking about the place you’re going to be camping in, what the weather is scheduled to be like, and so on.
If you’re going to an established camping ground, it can help you to view pictures of the campsite online. Here are some other important tips.
- The land you choose on which to set up your camp should be flat and even, as this will make it easier for you to set up your tent from scratch and cook on a small fuel or wood stove.
- It should offer some natural weatherproofing. Although your tent will have features that prevent it from getting wet, you should ensure that there are trees around the campsite. This will not only provide you with shade but it will prevent the wind from reaching your tent and becoming a nuisance. That said, avoid setting up your camp in a valley at the bottom of a hill. Although this might seem like the perfect location to prevent the elements from getting to you, it could be dangerous if it rains – you could end up with a flash flood!
- Avoid setting up camp too close to water resources. While you obviously want to be close to a supply of water, you should avoid pitching your tent too close to it. This is because being too close can put you in danger if there’s a lot of rain or a flood. Aim to stay about 100 to 200 feet away from the closest water source.
- Test the soil for your tent stakes. You’ll have to put your tent stakes into the ground to keep your tent secure (more on that a bit later in this article) but this can be difficult to do if the soil is too hard. It’s therefore good to choose to set up your campsite in an area where the soil can be penetrated but is still firm enough to hold the tent stakes in place. Test the soil – ideally by trying to put a tent stake through it – to see that you can work with it as this will reduce the time you take later to set up your tent.
What Are The Different Types Of Campsites?
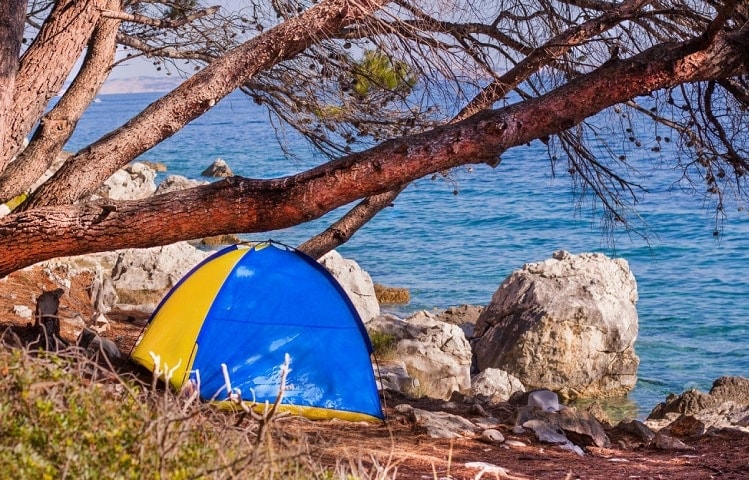
To help you figure out the best location for your campsite, it’s worth considering the different campsite types that you’ll likely encounter.
- Primitive campsites. These are campsites that can be within close proximity to towns or be much more remote, requiring you to hike to them. These campsites usually don’t have facilities such as bathroom amenities, requiring you to make provisions for that on your own.
- Established campsites. These are also known as drive-up campsites and can take the form of camping grounds that are designed for RVs or trailers, but they might not always have amenities such as water hook-ups so you need to check the campground’s amenities ahead of time. These types of campsites are versatile because you can simply pull up to them and unload your gear.
- Private campsites. These are found on private land and are offered to campers by landowners. You can find private campsites in deserts, mountains, beaches, forests, and other locations, and they’ll have a varying degree of amenities that are available.
Step Two: Set Up Your Tent
The first thing you should do when you have found the right campsite location and you’re happy with the terrain is to set up your tent.
This will ensure that you will have a place to sleep once it gets dark, and setting it up as soon as you get to the campsite will give you enough daylight to work with.
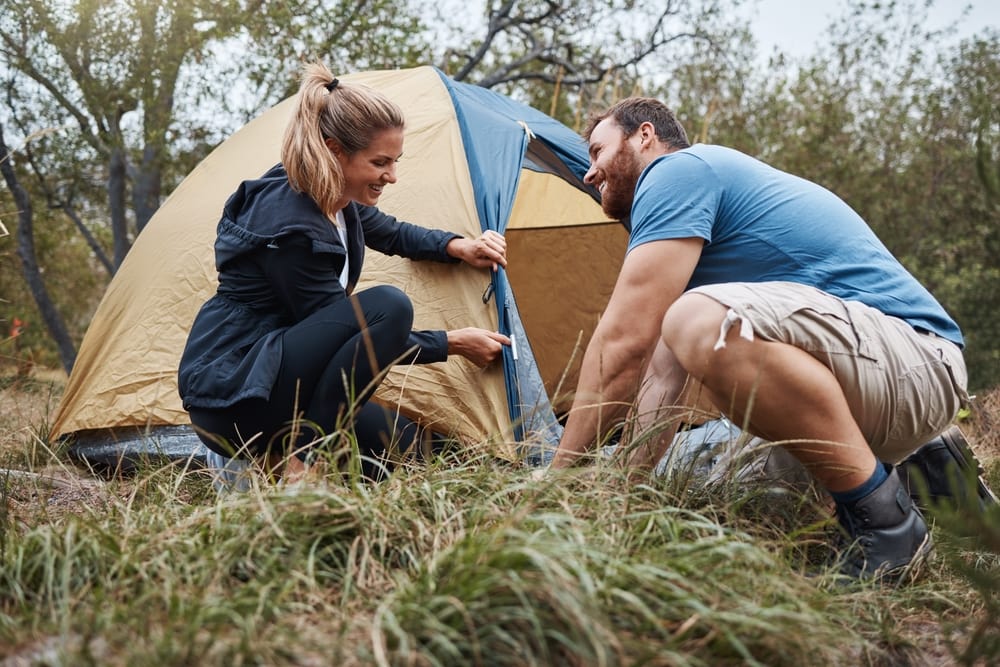
Not sure how to set up your tent? Here are the steps you should follow that generally apply to all tents.
- Make sure you’ve got your tent poles, rainfly, the actual tent, and ground tarp. Lay them out on the ground in front of you.
- Place the ground tarp on the ground with its shiny side facing upwards.
- Place the tent on top of the tarp. Think about how you want your tent to be set up, such as what direction you’d like the door to be facing.
- Assemble the tent poles and attach them to the tent body. To do this, you might have to push the poles through the sheath of the tent (if it has one) or attach it with the use of clips. Whichever one you do will depend on the type of tent you have.
- Next, you can go ahead and put the tent pole through the grommet – this is a small ring, or eyelet, at the bottom of the tent. By putting the pole through it, the tent will start to become upright. Do the same thing with all the poles and grommets at each of the corners of the tent.
- Put the rainfly on top of the tent. You’ll need to put the grommet of the rainfly underneath the tent pole to ensure that it stays secure.
- Stake your tent with the use of the tent stakes. These must be put through the tent loops and the rainfly loops at all four corners to give your tent stability. Then, put the stakes into the ground at a 45-degree angle.
Pro tip: Don’t wait until you’re at the campsite to assemble your tent for the first time, especially if you’ve never set up a tent before. This can be stressful and you never know what weather conditions you could find when you get there.
Trying to put up a tent when the wind is crazy is no fun, believe me!
It’s, therefore, a better idea to practice setting up the tent at home so that the process will be quick and easy, and much less stressful. This will also ensure that you can become comfortable with all the tent’s components and work through any issues you might encounter. You can also choose those pop-up tents that you can set up by yourself in less than a minute.
Step Three: Set Up Your Cooking Area
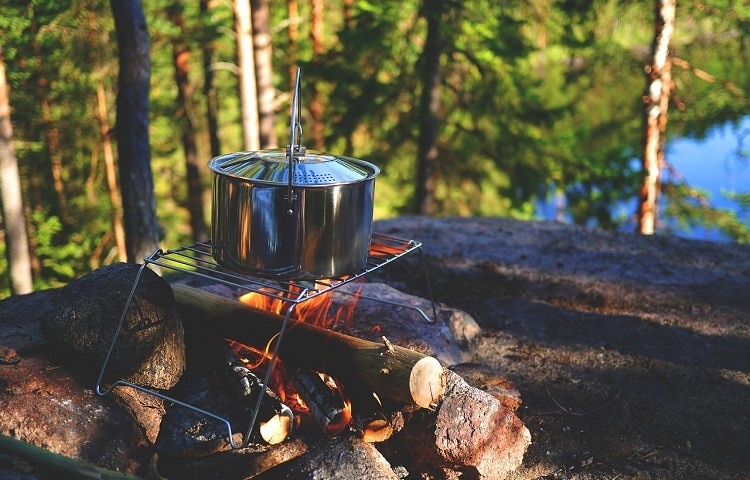
Cooking is a big part of the camping experience, so it requires a bit of planning. Once you have your tent, you’ll likely want to set up your cooking area. Here are some important tips to follow.
- You should always place your cooking gear downwind. This has many benefits, such as preventing the scent of your cooking from traveling upwind where it can interest wildlife, and it also prevents wind from coming down and wiping out your cooking fire.
- Make provisions for what you’ll do with leftover food. It will need to be stored about 200 feet away from your camp and stored in a bear-proof container. You should hang it about 10 feet high in a tree so that wildlife can’t get to it. This is another good reason why you want to set up your camp within close proximity to trees!
- For your cooking area, you’ll need to ensure you have essentials such as a camping stove, table, or a flat and even piece of ground on which you’ll cook.
- Carry trash bags with you so that you will prevent littering your campsite during the cooking process.
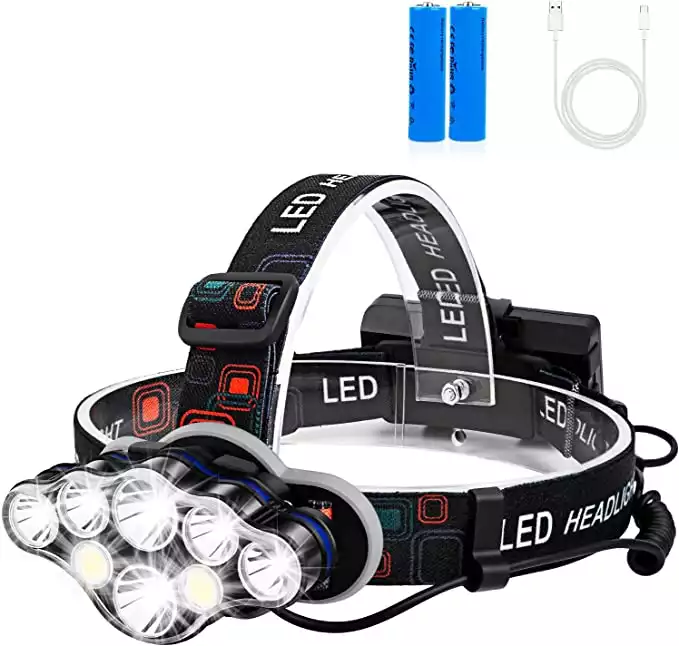
- It’s also a good idea to have a lantern or any camping lights that you can use to provide you with light in your cooking area if you’re going to be cooking in the evenings. A headlamp can also work well, such as this Foxdott camping headlamp from Amazon that is rechargeable and has a hands-free design to make using it much easier.
- Hands-free and waterproof design
- Powered by 1500mAh rechargeable batteries
- Head sponge pad for comfortable wearing
Step Four: Consider Your Bathroom Facilities
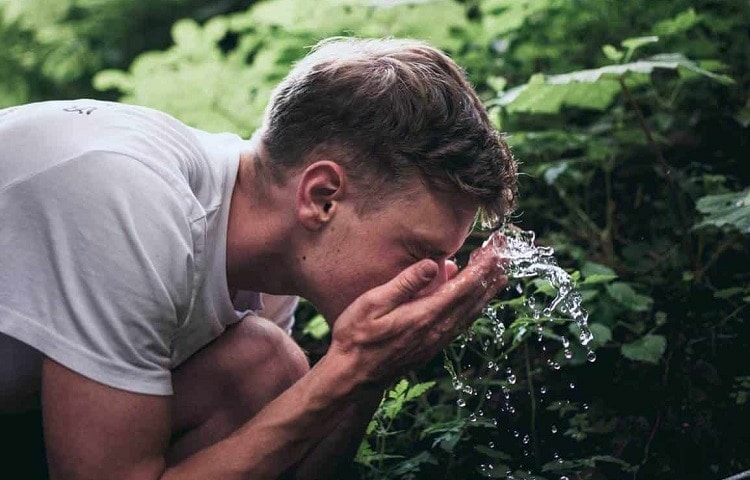
Generally, campgrounds will offer bathroom facilities that are located within a short distance from the campsite. That doesn’t mean you shouldn’t plan ahead to bring your own hand soap and toilet paper as these might not be provided!
However, if you’re camping in a remote location, such as a primitive campsite, you will have to set up your own toilet area. You will have to bury your waste and there will be regulations for this depending on the area in which you’re camping.
Usually, you’ll have to ensure that the waste is buried at least a few inches into the ground and your toilet paper will have to be packed and later disposed of by you. Make sure you dig the hole at least 200 feet away from your campsite and it shouldn’t be close to water sources or trails.
Here are some other tips to follow:
- Find an area in which to dig a hole that’s filled with loose and rich soil, and which gets a lot of sun. This will ensure that the waste will decompose at a faster rate.
- To make the hole easier for you to dig, you can use a boot heel or a trowel. Aim to make it four inches wide and about six or seven inches deep.
- Once you’re done, cover the hole with dirt and fill it up completely. You should also tamp it with your foot and cover it with a branch or rock so that it won’t attract animals who dig in the area.
- If you’re only doing a number one, it’s a bit easier to do. Simply squat over a soft area of land that will absorb the urine quickly and will prevent it from splashing. A good idea is to choose a pile of pine needles. Try to stand with your feet as wide as possible so that you don’t mess your clothing or boots.
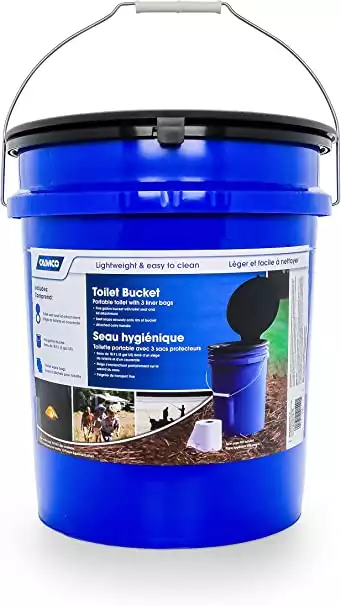
Digging a hole in the ground might not be right for everyone but the good news is that you can find portable toilets that enable you to do your business in a more comfortable way, such as the Comco Portable Toilet that’s made of durable polypropylene and has a five-gallon capacity. It comes with a toilet seat, lid, and three bag liners, so you’ll have everything you need.
- Bucket with toilet seat and Five gallon capacity
- Lightweight and easy to clean
- Made of polypropylene wit UV protecting layer
Step Five: Set Up Your Seating Area
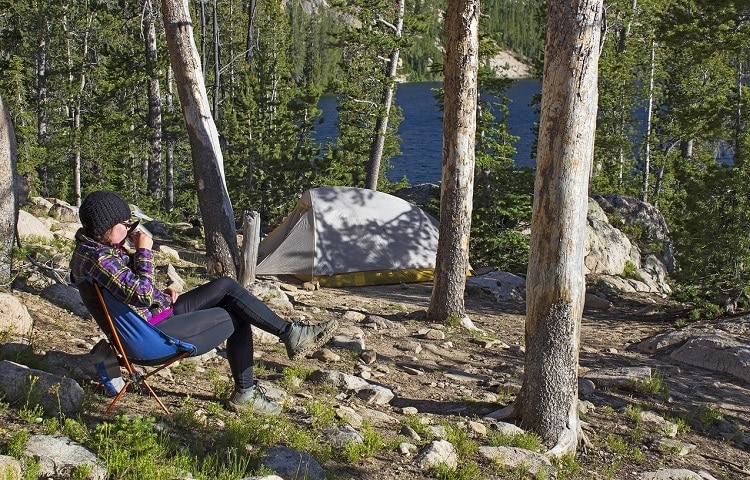
You might want to sit around the fire, but it’s also good to set up a seating area for when you’re not playing songs on the guitar around burning embers, such as during the day. So, now’s the time to put out your camping chairs.
It’s also a good idea to set up your lanterns so that they’re within easy reach when the light grows dark – you don’t want to end up trying to find where they are when the light is poor.
You should also have any anti-mosquito and insect-repellent products or candles within easy reach, perhaps stored in the pockets of your camping chairs so they’re there when you need to use them.
Your camping chair can be a useful resource when it comes to eating and cooking around the campfire. By choosing one with a side table, it can provide you with a platform on which to rest items while you’re cooking or eating. A camping chair such as the Oniva camping chair has a variety of pockets and a side table included in its design. It also has an extra-wide seat to make it more comfortable when you’re using it for various activities.
If your tent has a screen room attached, this can be the perfect spot to place your chairs as it will also give you a bit of shelter during the day to block out the harmful UV rays.
Step Six: How To Start A Fire
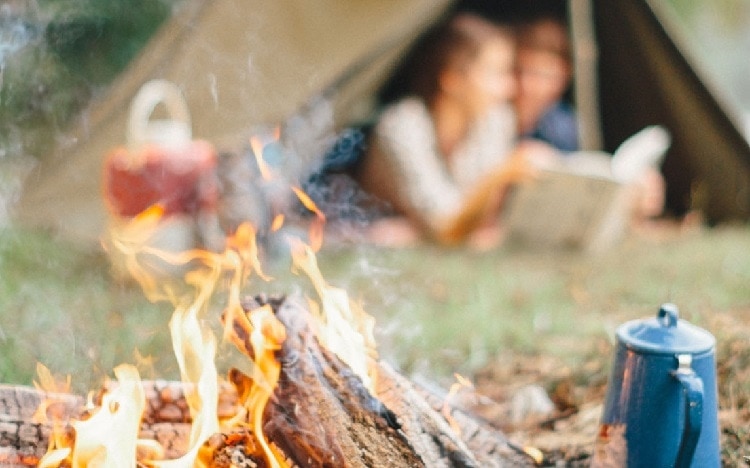
What’s a camping trip without a campfire? This is also something you should set up quickly when you get to camp if you want warmth and to cook over the fire. Here’s what you’ll need to do to start an amazing campfire.
- Consider the campsite. If your site has a fire area that’s designated for campers, then you should use it. If not, and you’re in a remote camping area, then you’ll need to make your own provisions. Always choose a spot for the fire that’s far from trees and bushes that can catch alight.
- Collect your fuel. You’ll need materials such as tinder, wood, and kindling. Tinder is material like dry bark and leaves and this is useful for helping the fire to ignite easily. Kindling will burn quickly and help your fire to keep burning, and it takes the form of small branches and twigs. Finally, dry wood that doesn’t bend is good for firemaking as it will ignite easier and won’t produce too much smoke.
It’s not always easy to know how much firewood you’ll need but here’s a general guideline to consider: a campfire that’s about three feet in diameter will require about one or two bundles of firewood every two hours.
If you’re using the wood for cooking purposes, you’ll probably be able to get away with a bit less than that, especially because your cooking time won’t be that long.
- Place the fuel materials correctly. There are various ways in which you can organize the materials for your fire to ensure it burns properly, but an easy way is to take four pieces of firewood and place them alongside each other. Add three more pieces of wood on top of the base in a perpendicular design. Add two more pieces perpendicular to that layer, followed by a small tinder pile and kindling on top of the base.
- Put out the fire! When you don’t need it anymore, make sure you put the fire out properly. It’s worth noting that this takes time and a few steps to ensure it’s done correctly. You can’t just pour water over it and think the fire’s out because it might not be.
Easy tips to put out a fire:
- Start by sprinkling some water over the campfire. Then stir the water with a stick to make the ashes become wet.
- Put the back of your hand close to the ashes – never actually touch them! – to see if they feel hot. If they still do, or if they’re burning and hissing, then you know that you have to add more water and stir it to put them out.
- Once the ashes are cool, dispose of them. Never leave them there for the next camper to have to deal with. To remove the ashes, you can put them into a bag and spread them out around the campsite.
Step Seven: Leave No Trace
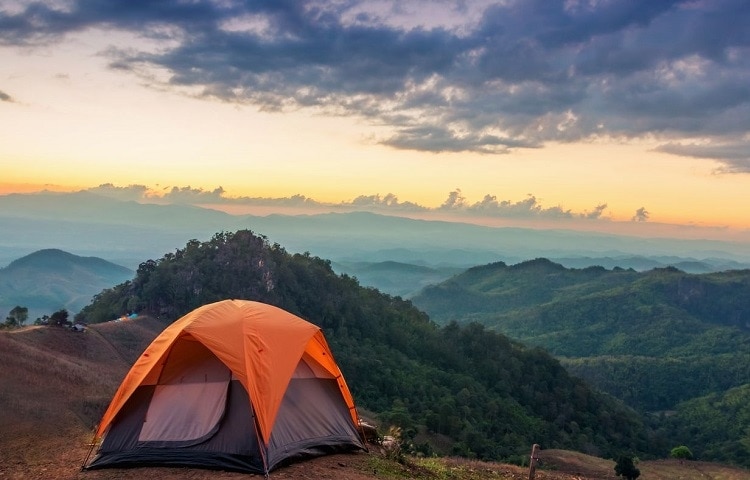
When you leave a campsite, it’s important to follow the rule of leaving the site exactly how you found it.
This is not just about preventing litter in the area but respecting the environment. Here are some rules to follow for the next time you go camping so that you don’t leave your mark on a camping site and reduce your waste.
- Remove food packaging at home before you head out to the campsite to reduce plastic waste. You can store your food in sealable containers. This also prevents you from having lots of packaging and litter to remove later.
- If you’re camping in primitive and pristine places, be mindful of how your movements impact the earth and vegetation. Spread out your tents and avoid using the same walking routes so that you don’t create paths in the natural landscape. Avoid stepping on vegetation. You should also try to leave the natural environment alone, such as by not damaging trees or any type of plants, or even cutting flowers, because these are used by animals and insects in the area.
- Follow the right fire-making tips. You should only camp in a location where there’s an abundant source of wood and try to build a fire in a place where there’s already an existing fire ring. When making a fire, keep it small and don’t burn your fire next to rock outcrops where black marks from the fire will tarnish them and remain there for years.
- Be mindful of the wildlife in the area. Set up your camp about 200 feet away from water sources as these will be frequented by animals in the area. You also want to make sure that you avoid making a lot of noise or quick movements as these can disturb and scare nearby wildlife. Never leave waste behind at the campsite as these can pose a danger to birds and other animals who might mistake them for food.
You may also like: Never Spoil Your Foods With Awesome Tips on How to Keep Your Food Cold While Camping
Camping for Beginners FAQs
Is camping expensive?
Camping doesn’t have to be expensive, but it really depends on the gear and food you bring, as well as how much you’re okay with roughing it.
Generally, gear, food, fuel, and camping fees for a group of three who are camping for two days can cost around $1,600.
What’s the difference between a campfire and a bonfire?
While they might seem like the same thing, a campfire is smaller and used for the purposes of cooking and providing warmth. A bonfire is usually much larger.
Can you camp without a tent?
While this is possible, such as if you want to sleep in a hammock that keeps you off the ground, it’s not always advisable. A tent can offer you much more protection against wildlife and the harsh elements.
You may also like: Check Out These 6 Different Camping Styles To Try on Your Next Outdoor Adventure
Conclusion
Setting up your own campsite doesn’t have to be a stressful experience.
With a little planning and by following the tips in this tutorial, you’ll be well on your way to setting up a campsite that you’ll enjoy using during your camping holiday.
This is important because the campsite is the heart of your entire camping experience. If you don’t have the right amenities or you don’t know how to set up your tent or build a fire, this can cast a shadow over your experience. Camping’s supposed to be fun, not stressful!


